Thursday, 17 July 2014

Scrapbookit July Challenge

Hi everyone, thanks for joining me here today.

It is my turn over on the Scrapbookit Blog again today and I'd like to share with you the latest layout I created "Nature's Beauty".

 The photo was taken at my recent retreat, such a beautiful serene place.  I used papers from the Echo Park paper range "walking on sunshine", I used Fancy Fish along with strips from, Sailboats, Direction Arrows and Oceanfront Views.
I created this layout to play along with the current challenge, using the mood board and a stencil.  For this layout I chose the blues and oranges from the mood board to work with and I actually used two stencils, the Chevron Stencil for the background, and a little word stencil.

A close up of the background detail; showing the texture created by the Chevron Stencil, the strips of the other papers and also the thin check ribbon (Sullivans) I added (you need to look closely to see it). You can also see the Lindy's Stamp Gang sprays that I used to colour and drip on the background.

A close up of the word stencil that Jo sent in my kit, inked at the edge of the photo. 

 I removed the yellow and black centre from a Manor House flower and created my own blue centre with some Ribtex beads, I also used some of the cheap paper flowers to created a couple of 3d flowers .

For my title I used the Scrap FX Nature's Beauty.
 I used some open circle grommets in shades of blue to further texturize the layout.  These are an older product, but give such a great look and can be so versatile, get yours from Jo while they last.

For a little extra detail I added a Scrap FX flourish Doodad G, which I had cut in half and put on the corner of my photo. 


Just to refresh your memory of the details of the challenge I set this month: 
1. To create your project using a stencil
(just cause I love them, lol)
 2. To take your inspiration from my mood board 
3. Have fun


I hope that I have given you some more ideas on how to use this mood board, and that you will come and join in the fun over on the Scrapbookit Blog and who knows maybe even win yourself a prize. 

till next time
happy creating
xC

Thursday, 10 July 2014

Walking Wounded

Hi everyone, thanks for joining me here today...
Today I'd like to share with you a layout I created with some of the new Scrap FX releases  "Walking Wounded"

This is my poor furbaby Cleopatra, she recently broke three toes and had to be confined to staying indoors for eight very long weeks while they healed.

 I loved the new title Walking Wounded, so appropriate for Cleopatra during her confinement. On the background in the corners I used the Scribble Circle Stamp and I used the one of the Heartbeat Borders along the bottom of the page.

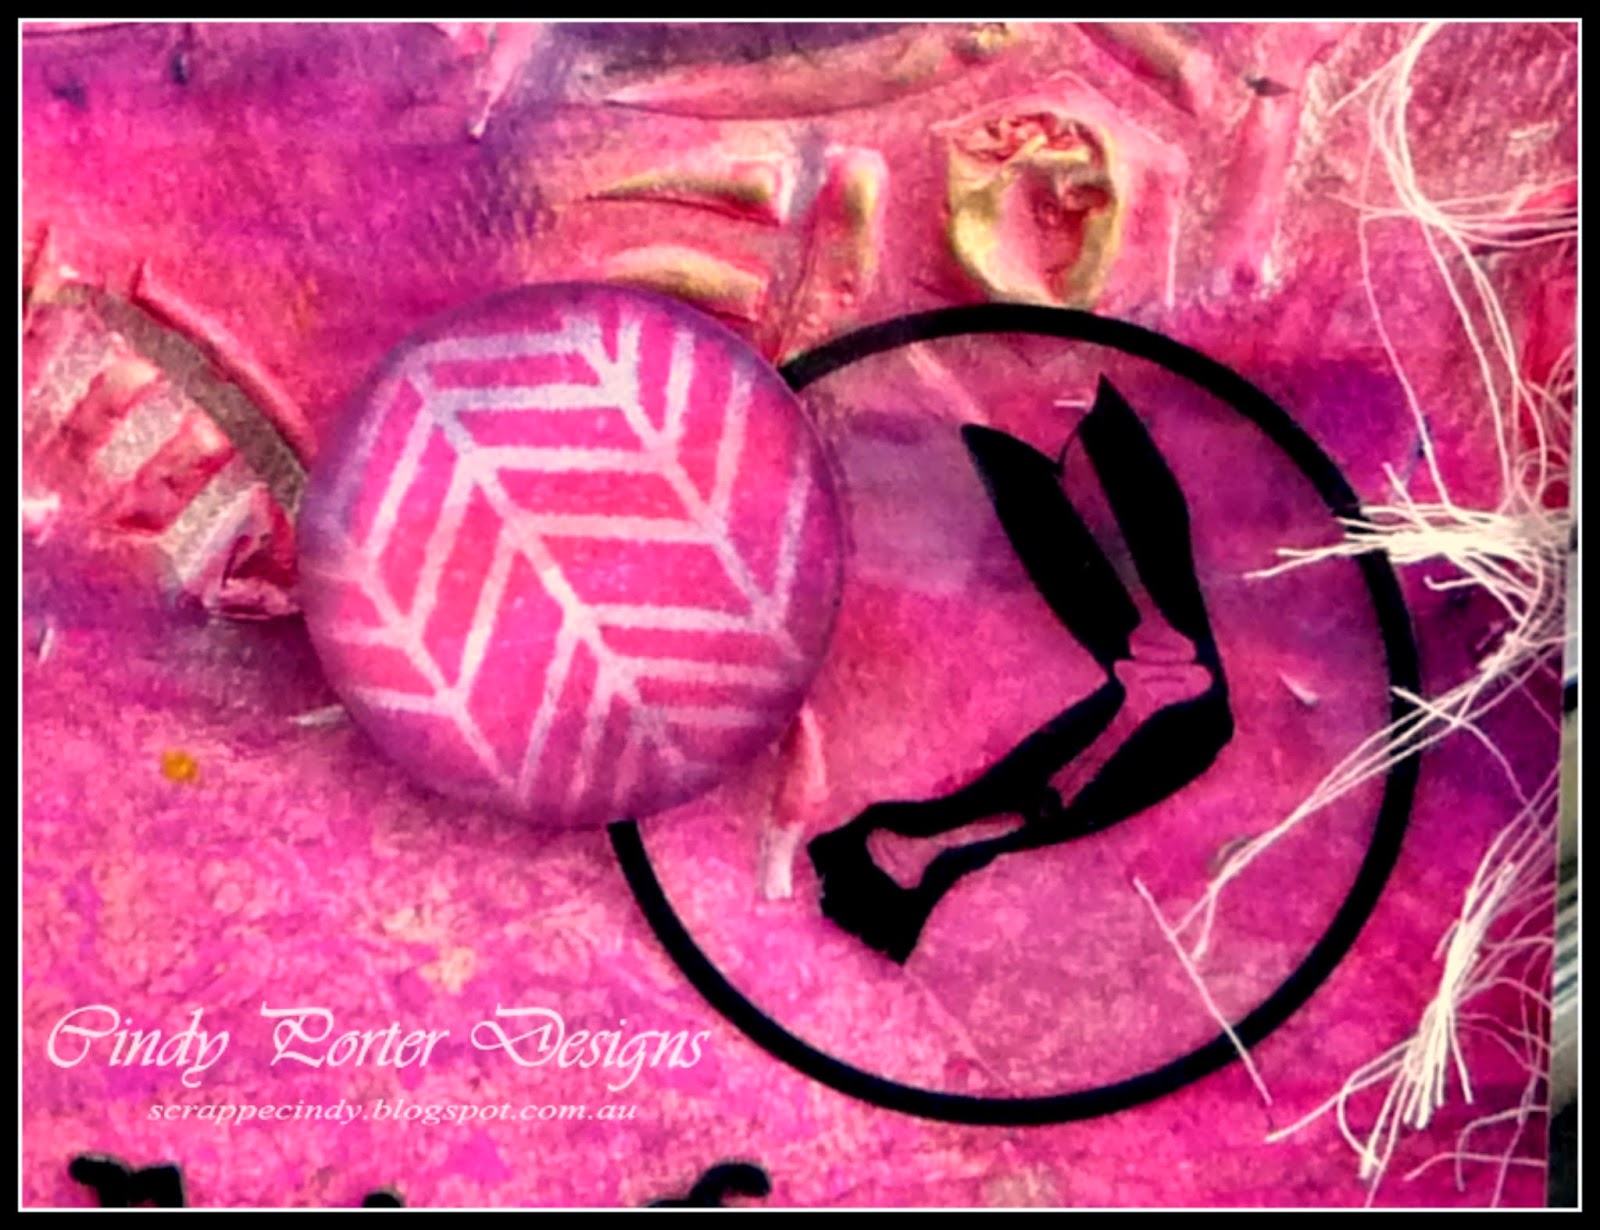
 Scrap FX's release this month also included A4 transparency sheets, and here I have used the broken arm from the Medical Transparency and cut off the fingers to make it look more like Cleopatra's paw...
A raised stamped image using the Chevron Spot Stamp was used to cluster with the transparency image.

 To create some background texture I used the Circle Weave Stencil, and at the top of the page the other Heartbeat Borders (there are two in the pack)

Here I used another of the images from the Medical Transparency, there is so much on these A4 sheets.

Well, Cleopatra is finally free from the bandages and confinement and her toes have healed and she is very happy to be allowed to play out in the garden once again.

Scrap FX products used to create this layout:
Walking Wounded
Medical Transparency
Heartbeat Borders
Circle Weave Stencil
Chevron Spot Stamp
Scribble Circle Stamp

till next time
happy creating
xC

Wednesday, 9 July 2014

New Scrap FX....

Hi everyone, thanks for joining me here today...
Today is my turn over on the Scrap FX blog and I'd like to share with you a layout I created with some of the new releases  "My Car" 
I had a couple of pics of my car which were perfect for this latest theme release from Scrap FX...

I used the new Gear Stamps (which I cut into individual stamps for more variation of use) on my background, these are a great set of four gears.  I cut out the 1st from the My 1st Car to create my title, and used the Spark Plugs chippies to create a corner.  I also used the Arrows Stencil, large with some modelling paste to create a textured arrow.

I loved the new Tyre Track Stencil, it created such great texture and I am sure I will get loads of use from it... The speedo and key are from the Driver Kit...

Here I used the My Car from the Car Transparency sheet, a great A4 printed transparency with all things automotive.....in the corner I used the the rest of the Spark Plugs pack.

The traffic light is another of the images on the Car Transparency

Scrap FX products used:

till next time
happy creating
xC

Tuesday, 1 July 2014

Scrapbookit Challenge

Hi everyone, thanks for joining me here today.
It is my turn over on the Scrapbookit Blog, and Jo has asked me to set this month's challenge.  I hope that you will come and join in the fun, and who knows maybe even win yourself a prize. 

My Challenge for July is :

1. To create your project using a stencil (just cause I love them, lol) 
2. To take your inspiration from my mood board
3. Have fun


There's plenty here in this mood board to inspire you, so it shouldn't be to hard to come up with some great layouts.

Now, here's my take on the challenge, I hope it gives you lots of ideas.
From the mood board I went for the reds and blacks and the word Relax and used these to create my layout... "Relax"

So this is a pic of my furbaby Henri, he certainly knows how to relax.  In this pic he is sprawled out on my lap while I am trying to create...
This month Jo sent me the Echo Park "Walking on Sunshine" paper pack to work with, great bright colours and patterns on one side of these papers and some fantastic simpler patterns and colours on the backs of them, these are just my style.... for this layout I used "Beach Stripe" which had this gorgeous red on the back... 

 Also in my pack this month this cute little wood word which I painted black to create my title.
In this pic you can see how I have used the Darkroom Door French Script stamp to randomly stamp my background.

 Here you can see I embellished the page with some Kaisercraft flowers that I sprayed and layered up and a large Manor House flower which I removed the centre from to use as a base.

A close up of my stenciling work.... I used the Scrap FX Wood Grain Stencil. Here I used it sideways to imitate Henri's striped legs and face.... I used modeling paste and sprays to imitate Henri's coat colours.

Doesn't Henri look so relaxed and content.

Well I hope you all enjoy this challenge and I can't wait to see all your takes on the mood board.  Don't forget that Jo has all these great products at the Scrapbookit Store.

till next time
happy creating
xC

Wednesday, 25 June 2014

Wild

Hi everyone, thanks for joining me here today.

I'd like to share with you a layout I created "Wild"....
this month I had some papers left from the pack that Jo from Scrapbookit  sent me... so I got to creating...

 I took this photo at the recent A Scrappe Tiger retreat, this gorgeous tawny frog mouth owl, came and visited us each evening... happily posing for photos...
the layout was created using the Mister Fox collection from Kaisercraft.

 I created this sensational texture using the Scrap FX Palm Frond Stencil.  I really love this stencil.

I used the Mister Fox collection papers (distinguished, heroic, powerful, fearless and strong) and the collections pack.
Don't you just love his eyes.... so mesmerizing...

For my title I used the Scrap FX chipboard "Wild Child" and cut off the 'child' I will keep that in my stash for something in the future.... the layout was coloured with distress inks and Lindy's Stamp Gang sprays.

till next time
happy creating
xC


Scrapbookit DT work

Hi everyone, thanks for joining me here today.

It's my turn over on the Scrapbookit blog again today and I'd like to share with you the layout I created.

This layout was inspired by Brenda's challenge, "scrap a photo of a friend", but I didn't follow the full challenge criteria this time...
The photo is of a friend of mine at a recent retreat.
I had lots of fun playing with some cheap water colour paints, on the coordinations cardstock (sequoia)...

Once I had that layer down I used the Scrap FX Whirlpools Stencil,  to create some detail along with the Scrap FX Hash Stamps...

and then some final background detail with the Darkroom Door French Script stamp.

I used the Kaisercraft Mister Fox collection of papers and collection pack to create the layered pieces for the layout...


 I hope you've been playing along for your chance to win a great prize pack from Jo...

till next time
happy creating
xC

Thursday, 12 June 2014

Happiness

Hi everyone, thanks for joining me here today...
Today I'd like to share with you another layout I created for Scrap FX "Happiness
I snapped this photo at the May 'A Scrappe Tiger' Retreat it's a pic of three of the major prize winners from the weekend...

 As soon as I had printed this pic, I couldn't wait to create a layout with it... so bright and fun...and depicting such Happiness.  I had loads of fun creating this background using loads of gesso and playing with some IZINKs, and wow I love the shine these little IZINKs give...  

 The new Happiness... wordlet was just perfect for this photo... I couldn't have come up with a better title if I tried...

Don't you just love these new Chevron Spots stamps... I stamped them up with distress ink and used a 1 1/2" circle punch to punch them out.... how fantastic is that, so quick and easy... 

In this pic you can see the texture I created on my background using part of the Urban stencil I love that stencil it's so versatile, so many different effects are possible from the one stencil... love it!
You can also see the new Hash border chippie... which I coloured up using the IZINKs...

In this last photo you can see another close up of texture from the Urban stencil, and a small portion of the Hash border that I cut off to layer behind the heart. The heart I coloured with Inka Gold and was die cut from the 1.8mm chipboard sheet A4... these sheets are great to have around and come in 12 x12" as well, they are fantastic for die cutting and the 12 x 12" also make a great base for mixed media layouts... I always have some sheets on hand, I love them...

Scrap FX products used in creating this layout:


till next time
happy creating
xC

Monday, 9 June 2014

Perfectly Imperfect

Hi everyone, thanks for joining me here today...

It's my turn today over on the Scrap FX blog and I have a new layout I created to share with you all "Perfectly Imperfect

The photo is one of the group photo's from the latest 'A Scrappe Tiger Retreat'!! This is one of the "anything goes" pics we always take, like the title says "FUN".... 

Playing with the new Scrap FX releases this month was so much fun, lots of fantastic new designs and I found it difficult to choose what to play with first...

The new title Perfectly Imperfect really does make the perfect statement for this page...

I had loads of fun with the new Ripples stencil creating a fun background with impasto and Gelatos...don't you love all that texture... and if you have a very close look, I even included some journalling!!  (I hope you all survived the shock of that... lol)

Over the photo I also used the new Sketchy corners aren't they great.... there are also new sketchy frames and word frames in this release that I can't wait to work with too... you can check them all out here...

I coloured the Sketchy corners with Smooch to give them some shine against the flat finish of the Gelatos...

I wanted to include the word Fun... on the layout and just love the font of the "family fun" wordlet... dare I say it... it's just such a fun font!...
Scrap FX products used in creating this layout:

till next time
happy creating
xC

Friday, 6 June 2014

Scrap FX technique share

Hi everyone, thanks for joining me here today.

Today I'd like to share with you a little post from the Scrap FX blog... we did this great post where the DT members shared different techniques with chipboard and stencils .... here is my share, it was written up by the fabulous Scarlett...

Cindy shares an awesome technique using PVA glue, chipboard, and your heatgun for fast and fabulous results that pack a wow factor you won’t believe.


To achieve this rockin’ fab look Cindy did the following:

Step One: Spread gel medium or PVA type glue on chipboard then heat with heat gun to cause it to bubble giving it texture.

Step Two: Paint with black gesso and allow to dry.

Step Three: Use Inka Gold in a few colors to run onto the texture to complete the technique. You could use a copper spray mist (like Lindy’s Stamp Gang instead).

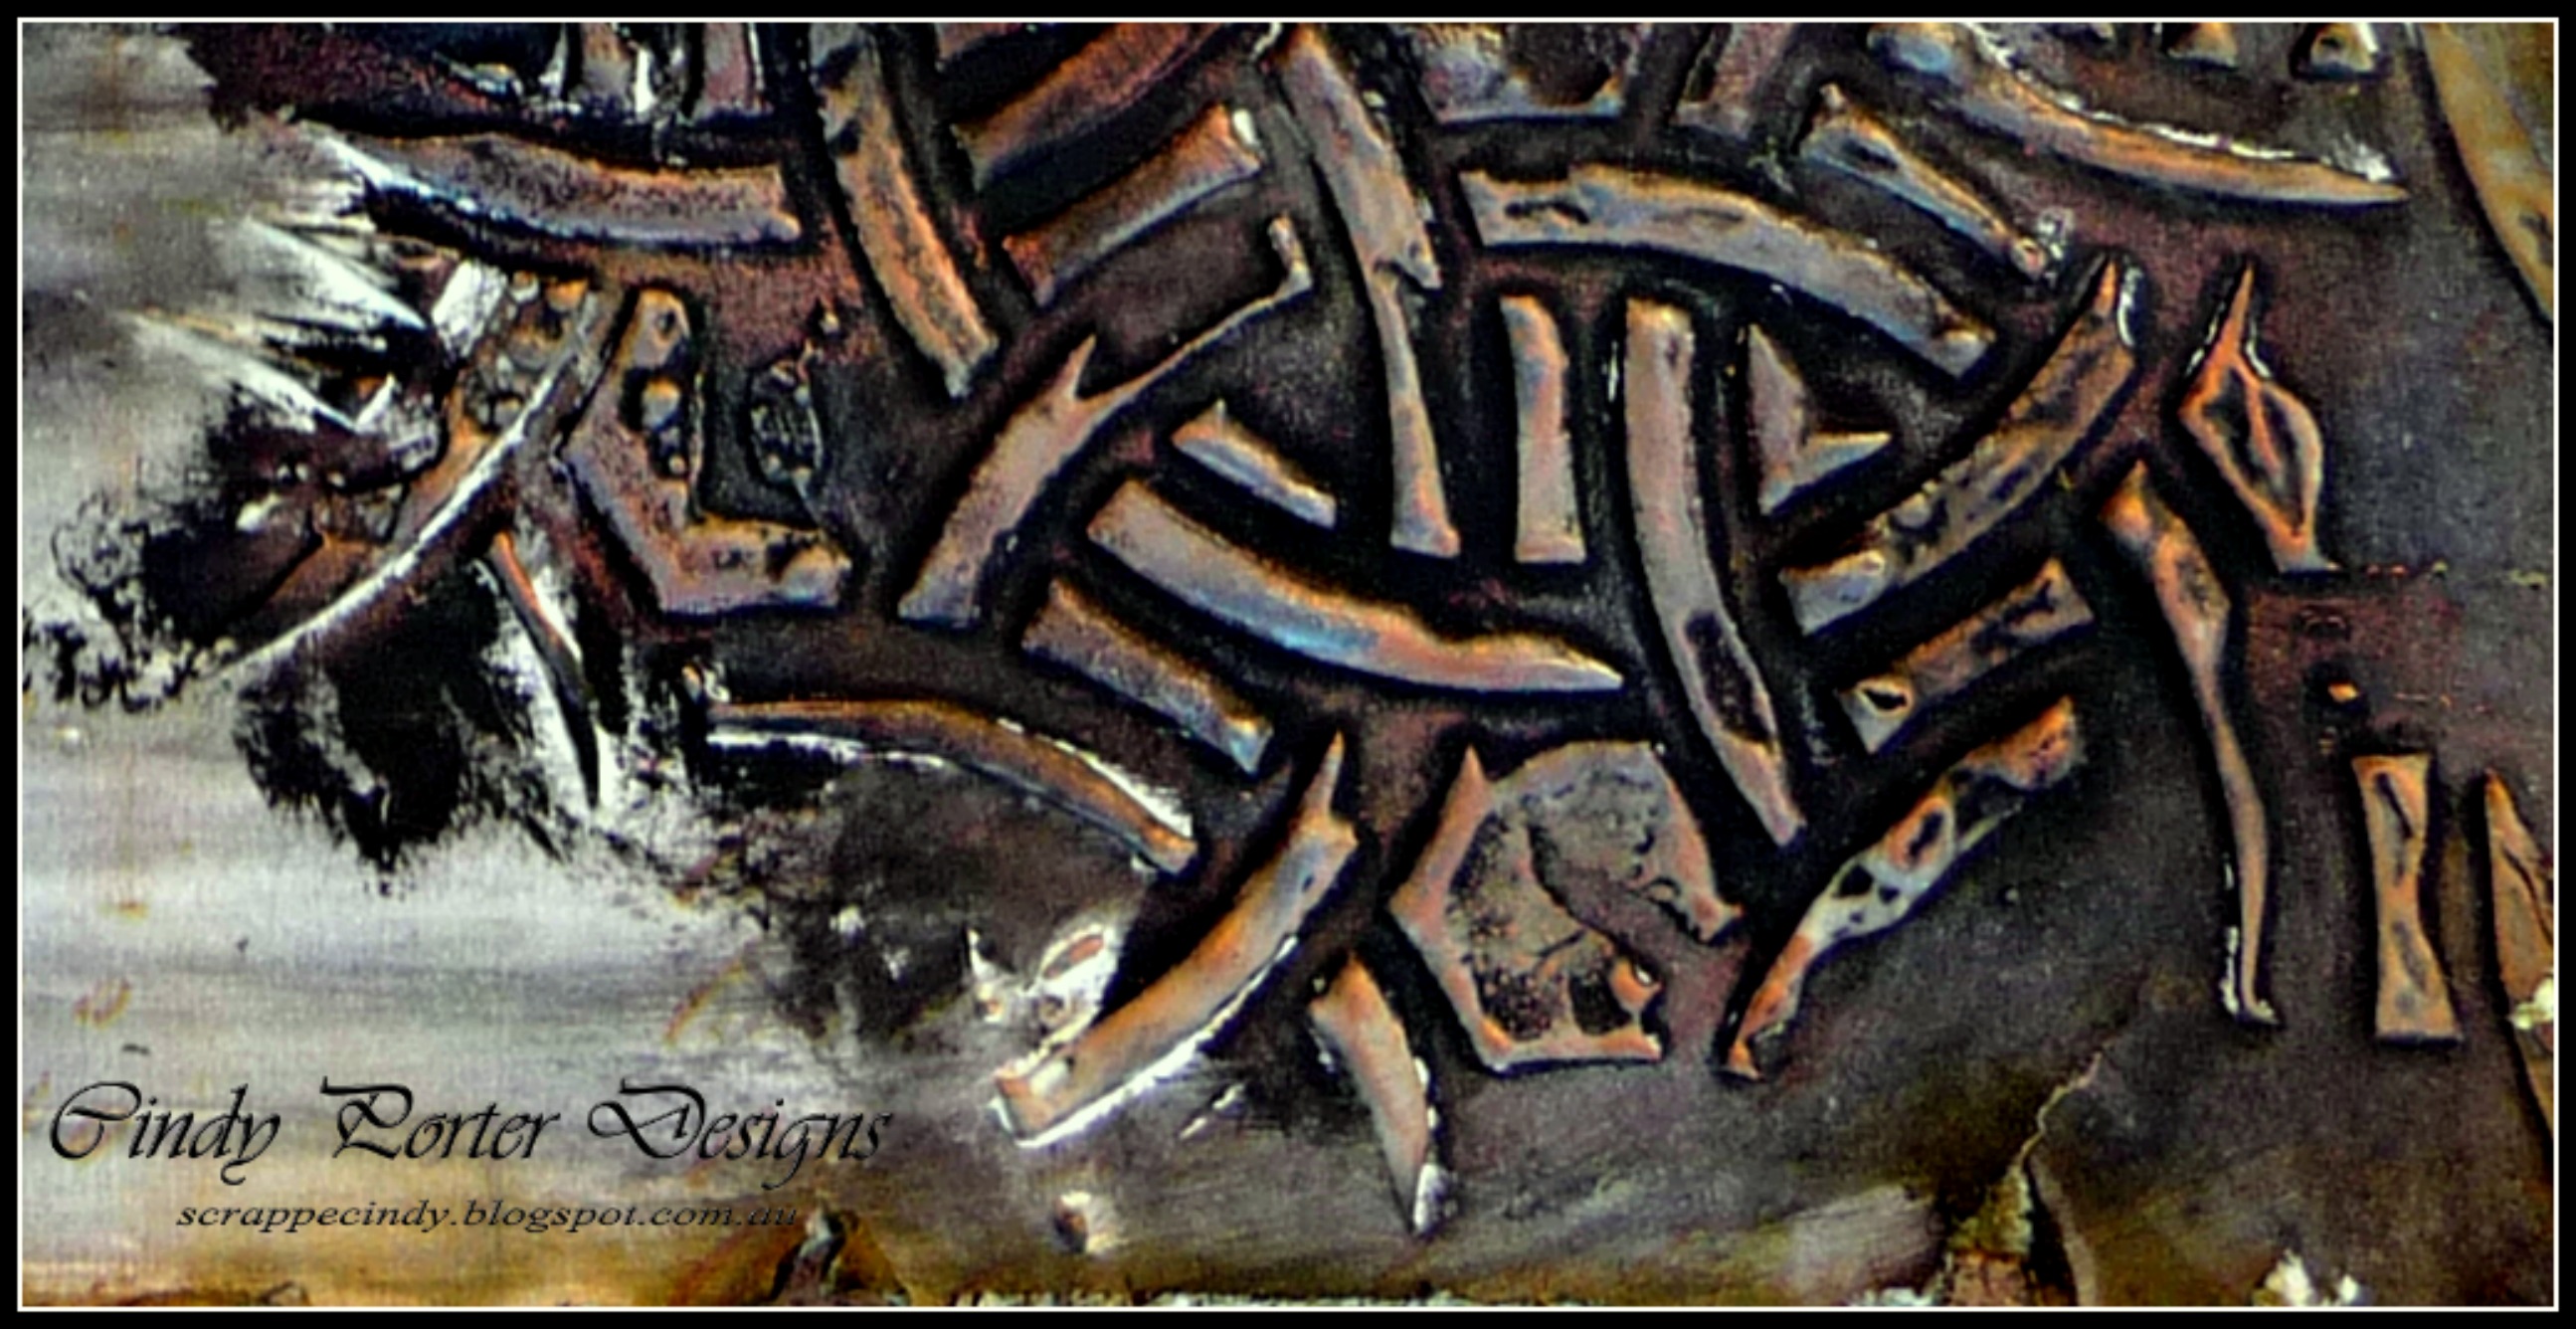
Cindy also used this same finishing technique on her stencil work and modeling paste for her project. Check it out:


Is that cool or what?? When I saw this my mind was blown! I was so elated she shared her technique because this metallic effect is so realistic – I love it and will admit I really want to touch it!

Now to see her full reveal:


This page is nothing short of jaw dropping. The rustic feel Cindy has captured and created here is magnificent! The way the stenciling comes busting through the page and the paper blends and merges makes it look like an optical illusion of sorts. Again another fairly easy technique with outcome that makes it look like you worked your tail feathers off to get the end result – don’t you love that?


Doesn't Scarlett do a fantastic job at writing up these posts... I love how she brings the projects alive with her words... Anyway, if you'd like to see the rest of the techniques shared by the DT follow the link HERE.... there are some great ideas shared there....

till next time

xC

Thursday, 5 June 2014

Scrapbookit Challenge

Hi everyone, thanks for joining me here today.

It's my turn over on the Scrapbookit blog today and I'd like to share with you the layout I have created to play along with the current challenge.

This month the challenge was set by our DT member Brenda.  Here is her challenge...

Scrap a photo of a friend. 
Your layout must have the word friend in the title and have journalling which is more than a couple of words.  

Well, Brenda certainly knew how to challenge me with that journalling requirement.... I am the queen of minimal journalling...lol... you know less is more, hahaha...

So here is my take on the challenge.... "Friend"
This month Jo sent me the Kaisercraft Mister Fox Collection to play with... in this layout I have used Brave, Fearless and Distinguished along with the Mister Fox Collectables Pack.

It was not my original intention to completely cover the background paper.  I started with the new Scrap FX Ripples Stencil and some gel medium, it was my intention to have the clear gel medium pattern resist the colours I was applying.... but the paper bled the colour underneath the medium.... so a quick coat of gesso and then spraying with Lindy's stamp Gang sprays and I had a new background.  For my title I used the Scrap FX wordlet Friends and cut off the 's'.

 There were lots of great pieces in the collectables pack, I also used some Scrap FX Itty Bitty Bets "Groovy" alphabet letters (these letters are so cool they are black chipboard, so no need to colour them)

 To further add to the background texture, I used the Darkroom Door French Script stamp, the Scrap FX Hash Stamps and the Tim Holtz Schoolhouse stencil. 

One last pic showing my journalling that is more than my usual couple of words, along with more of the background detailing, stamping and stenciling...

I hope you like my take on the Scrapbookit challenge and I hope you'll play along for a chance to win a great prize pack.  I look forward to seeing your creations.

till next time
happy creating
xC


Monday, 2 June 2014

PTT presents Your Daily Dose, Inspiring, Challenging and Creating

Hi everyone, so glad you can join me today, 

Today was my turn to share over on PTT presents Your Daily Dose, so here's my little bit of inspiration...

I wanted to share something special I created.... I love creating with different mediums and this project is one of my favourites.... I'm not going to tell you what it is, you have to go check it out on my blog here.... if you love texture you won't be disappointed....


I use this creation everyday and I have actually done a step by step of how to do it for yourself... so to see all the details and some close ups,  check it out here.

till next time
Happy Creating
xC