Showing posts with label Inka Gold. Show all posts

Monday, 7 March 2016

You are Beautiful and Absolutely Fabulous for Scrap FX

Hi everyone, thanks for joining me...
Today I am sharing my latest work for Scrap FX... 
first up I created a canvas
"you are Beautiful"

I absolutely fell in love with this Demure Face stencil and the You are Beautiful phrase... and wanted to create something that could be inspirational everyday.... this canvas is now taking pride of place in my studio, just as a little reminder for everyday...

I have to tell you a little story about this latest release for Scrap FX.... Jill sent out her usual email telling us what the release was about  and attached is her flyer.... Well when I read the email description of the release (stuff for teen girls and boys)... I thought... hmmm this month I'm going to have to really get creative, it definitely didn't sound like anything I would normally enjoy creating with... But when I opened the flyer and saw all the images... I was blown away by them...  So the age of moral.... never judge a book by it's cover, or in this case never judge a release by it's description...lol...


I created my background texture using the new Melted Mesh stencil... and painted it up with the Dylusions paints and added some of the fabulous new Art Alchemy metallic paints for added shine...
the Melted Mesh stencil, gives a wonderful geometric type texture ... and I can see myself using it a great deal..

 The you are Beautiful phrase, I covered with some graphite paste to give it the gorgeous charcoal black colour and sparkle...

 I used the graphite paste with the Demure Face stencil.... I love this stencil.... I can see it getting a real workout in my art journals... 

 just a couple more pics... I chose to keep this canvas simple... I looked at adding lots of different things to it as I was creating, but I decided I really liked the simplistic style to let the face and phrase really be the focus of the piece...

Scrap FX products used:


Next up I created a canvas panel... I just had to have a play with the new mini Sugar Skulls... aren't they just "Absolutely Fabulous" .... lol

 these mini Sugar Skulls where just way too cute not to play with.... 
I used some crackle paste on my canvas panel along with some gelatos and gesso to create loads of texture and colour....

 The absolutely fabulous title seemed to be the only appropriate choice for these adorable sugar skulls... and painted up with some silver inka gold to let it shine... 

I painted up the mini Sugar Skulls using gesso and the new metallic Art Alchemy paints for added shine... to create the appearance of hair on my project I used the Daisy Flowers stencil....and how cute do they look!?! 
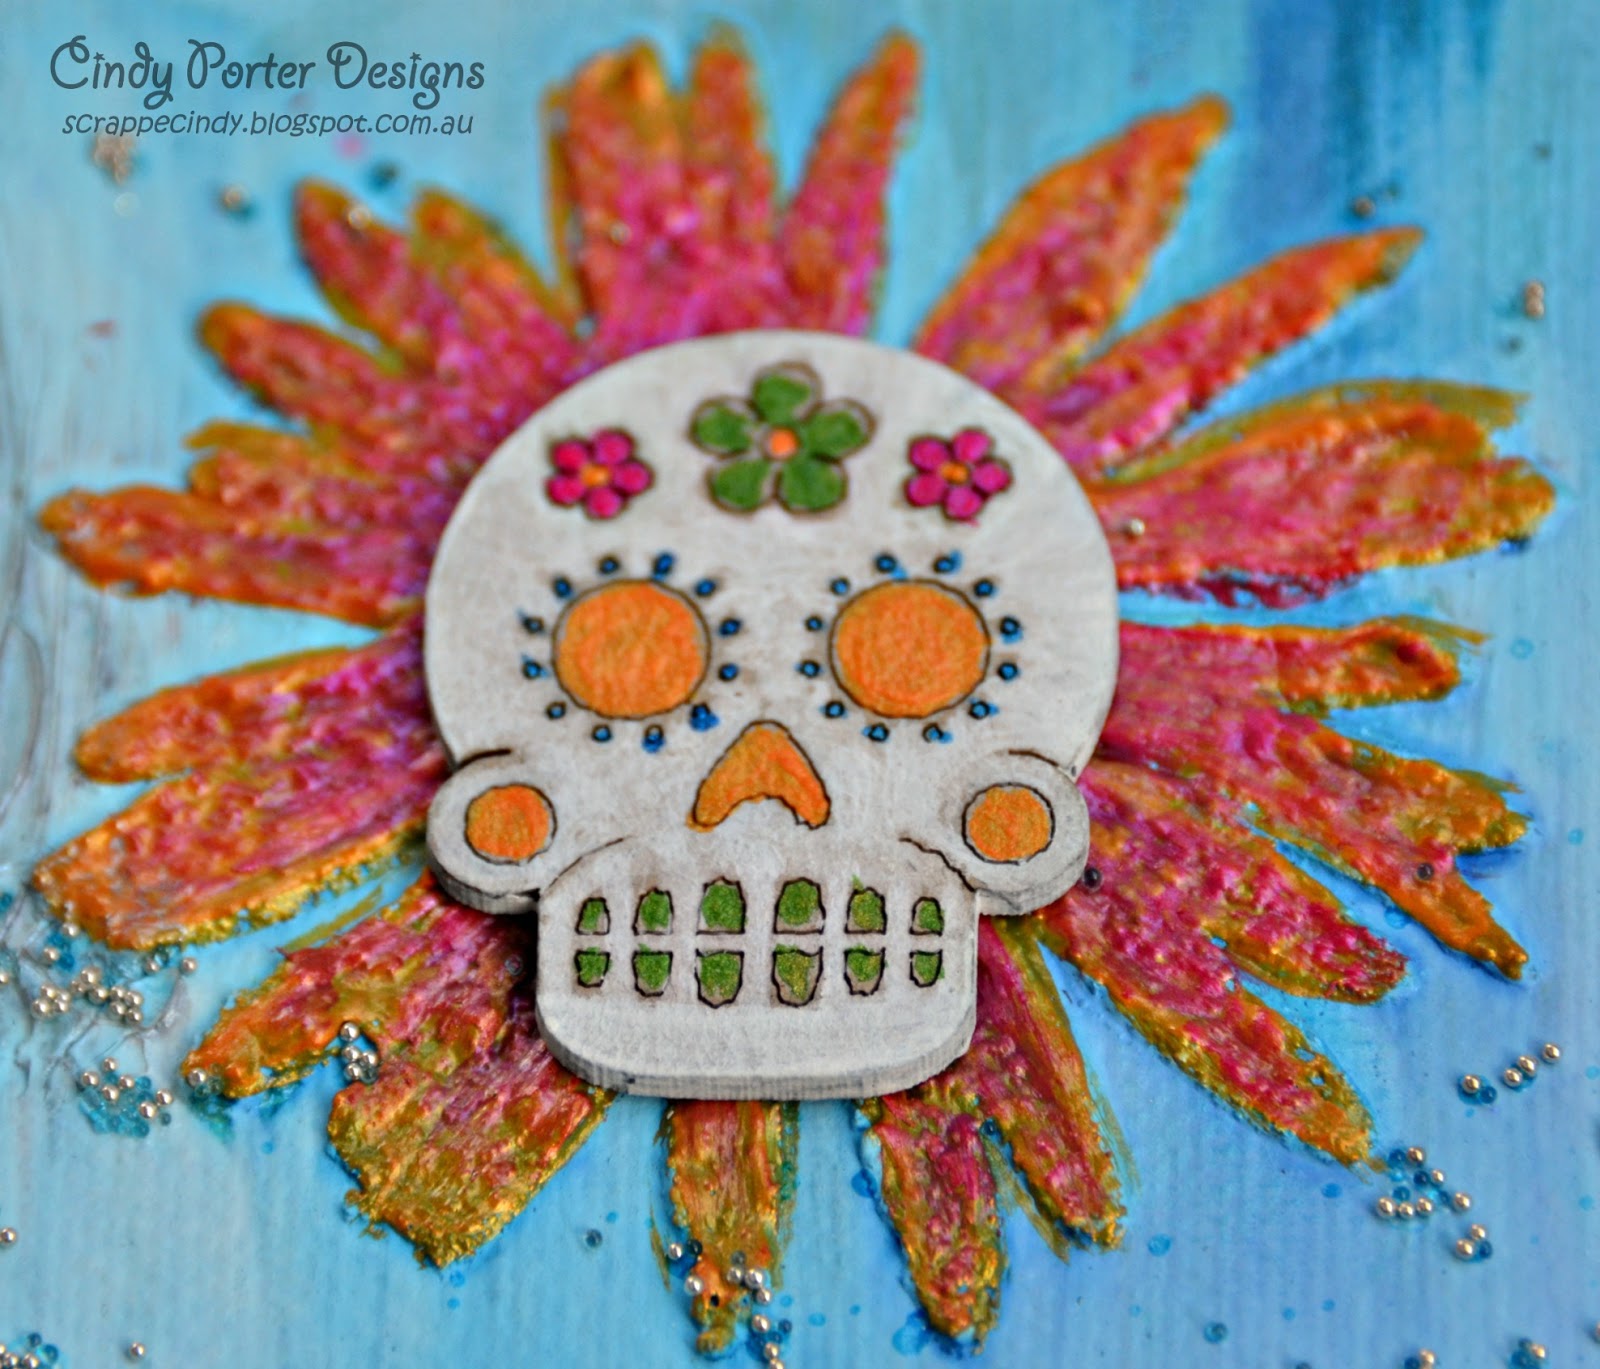
I had so much fun playing with these mini Sugar Skulls.... just so super cute...

Scrap FX products used:

till next time
happy creating


Monday, 4 January 2016

Steampunk Birds.....

Hi everyone, thanks for joining me here, today I'd like to share with you a piece I created for Scrap FX... "Steampunk Birds"


I created the background using some Viva Croco, Tattered Angels sprays and some micro beads...

The steampunk birds come in two sizes and two pieces... I embossed the top cog piece of each of the birds using the Stampendous shabby blue embossing powder...


 I also used the Rustic Tendril Corner and painted it up with some Inka Gold in various blues...

One last pic of the canvas...

I hope you have all had a wonderful christmas and a wonderful start to the New Year.... 

Scrap FX products used: 


till next time
happy creating and happy 2016
xC


Friday, 11 December 2015

Steampunk Goodness

Hi everyone, thanks for joining me here today...

Today I am sharing my latest work for Scrap FX ...I am still raving about this month's releases they are simply fabulous, I just love the steampunk theme and the latest pieces are gorgeous...

First up I have a grungy layout I created... using several of the new pieces... 
 This is a pic of my hubby and I on a trip we took on our Harley's to the Goldcoast... this was a stop at the Parkes Radio telescope.... perfect for a photo opportunity...
I used the new Accessory Cogs to create my background... I placed these larger sized cogs onto my page and spread modelling paste over them, to create my background texture...

I then coloured the background with black gesso before adding sprays, paints and even some ink gold to give it depth and enhance the texture.... I love the look I can get from using these accessory cogs as stencils... 

I used the junkyard panel on alternate corners of my layout... I coloured these up using some metallic structure paints, to create those rusted metal effects...
I also used the Industrial Machines transparency as my photo mat...

I added some chicken wire for more texture... can't go past some chicken wire when creating grungy steampunk layouts....

one last close up... I really do love the deep effect achieved by using those Accessory Cogs as stencils... 


Next up I have another layout I created "Angkor Wat
this is a pic that my personal guide took of me while visiting the Bayon temple at Angkor Wat


I created the background texture using the new puddles stencil, I love this stencil and the fabulous variety of looks that you can achieve with it.... for this layout I used Graphite texture paste for a gritty  textured background...

 The new release title is perfect for my Cambodian pics...

The Scrap FX products used to create these layouts:

till next time, don't forget to check out the Scrap FX Facebook page for your chance to win some great Scrap FX chipboard... 
happy creating
xC

Thursday, 10 December 2015

Couture Creations - Tiger Kingdom

Hi everyone, I'm here today to share with you another quick step by step tutorial I created for the Couture Creations blog.... I'm excited to share this layout I created using the Vintage Rose paper collection... "Tiger Kingdom"

Oh no! I hear you all exclaim not more tiger pics!!! lol.... sorry folks but I have plenty more to come, as I visited Tiger Kingdom for three days during my short trip to Thailand...

 I began my background by applying some modelling creme through my honeypot stencil that I had previously created from the honeypot die and a magazine cover...

 I dried the modelling creme using the heat tool...

 I added some more colour to my background by adding some stripes of distress ink...

 I embossed a piece of the Vintage Rose paper...
 and then inked it up with some rusty hinge distress ink...

 I cut some Perfectly Petite Doilies from some more Vintage Rose paper (I cut 3 of each design)...

 I painted them with some Lindy's moon shadow spray, to get the perfect colour...

I also painted up some flowers with some Lindy's sprays...

I also removed the centre bead from a couple of flowers and added some gemstones instead...

a close up to show how I layered it all together... with my flowers, petite doilies on some hessian a touch of covered wire, and some scattered 2mm gemstones and classic gemstones, because everything looks better with a touch of bling...

one last full pic of the completed layout...


Dies used:


Papers used:


Tools and Accessories used:


Adhesives used: 


till next time
happy creating

Friday, 4 December 2015

Create with Passion

Hi everyone, thanks for joining me here today...

Today I am sharing my latest work for Scrap FX ...this month's releases are simply fabulous, I just love the steampunk theme and these latest pieces are gorgeous...


I fell in love with the new create with passion stencil and decided I really wanted to make a canvas for the wall in my studio...


Another of my favourites from this release is the Steampunk Feather... it reminds me of the old quill pens - but a grungy version... I just love it... I coloured it up with some Inka Gold in various shades of blue and turquoise...


the new Puddles stencil gives fabulous rough oval texture...which I added around the edge of the canvas using modelling paste...


I used an old favourite, the Cogs Stamp with some embossing powder on the base of the canvas...

I used the new "create with passion" stencil with some modelling creme, I just love this statement, and love it hanging on my wall to inspire me...

one last pic of the whole canvas...

Scrap FX products used:

till next time
happy creating

Thursday, 12 November 2015

Journal Page

Hi everyone, thanks for joining me here today...

Today I am sharing my latest work for Scrap FX ...
first up I have a journal page that I created using some of the latest releases..."Luv u 4 Eva"
 I came across this photo of Bill and I that we had taken some years back at one of those old time photo places...  I thought it would make a nice journal page with the new heart themed releases...

 to create my background I used some modelling paste with the newly released Key Heart Stencil...
coloured it up with sprays and Inka Gold...

I used the  Luv u 4 eva heart from the Graffiti Hearts pack, you get three different hearts in the pack...

I used the Hearts Entwined chippie at the bottom of the page... I love this new chippie... I coloured it up with Inka Gold and used some clear crackle over the hearts...


a close up of the showing the black Croco also used on the page...
One last pic of the page,

Scrap FX products used:
Graffiti Hearts
Key Heart Stencil
Hearts Entwined


Next up I have another quick share.... I decorated a Pizza Box to send to a friend...

 I used the new Hearts Divine Stencil with some modelling paste...

I also used the Petal Pattern Stencil again with modelling paste...

I used the Chicken Wire Stamp... 

I coloured the whole thing up with some Lindy's sprays and some Inka Gold for highlights...

I gave it a coat of gloss sealer to make sure the colour stayed fast...

Scrap FX products used:
Hearts Divine Stencil
Petal Pattern Stencil
Chicken Wire Stamp

hope you've enjoyed these projects...

till next time
happy creating
xC