Showing posts with label #SilksAcrylicGlaze. Show all posts

Monday, 23 April 2018

Tag Play.... for Art and Soul Studio

 Hi everyone, I am excited to be joining you all today for my latest pieces for Art and Soul Studio. Today I am sharing a couple of Tags I created using loads of products from Art and Soul Studio....


Here is a process video to show the making of these tags...


Products used:

Jane Davenport Mixed Media 2 Napkin Collage Paper 30/Pkg

Tuesday, 20 March 2018

3D Canvas Art with Creative Paperclay®

Hi Creative Paperclay® fans, it's Cindy here,  this will be my final post as a design team member, I have loved my time on this fantastic team and will continue to create with Creative Paperclay® so keep your eyes out for some more great things happening with Creative Paperclay® in the future...

 Now onto my final project...

I created a 3D canvas.... I wanted to show how versatile Creative Paperclay® is by demoing yet another way to create with it...

keep reading to see how to finish off your own...

Supplies:
water
silicone and sculpting tools


Now onto a video demonstration .... enjoy


A couple more close ups  of the finished canvas...


So I'd just like to say thank you to Creative Paperclay® for having me on the team...  I have loved my time on the team...

Keep on creating with Creative Paperclay®
xC


Tuesday, 6 March 2018

How to make a Fairy House using Creative Paperclay® Part Two

Hi Creative Paperclay® fans, it's Cindy here,  I'm back to share the completion of my Creative Paperclay®, Fairy House...


keep reading to see how to finish off your own...
Here is a link to the video of Part 1 if you missed it: https://youtu.be/9zppCWdEKr8

Supplies:

water
silicone and sculpting tools

Now onto a video demonstration .... enjoy


Hope you enjoyed this video...

till next time
Happy Creating

xC


Wednesday, 6 December 2017

Creative Paperclay® Leaf Bowls

Hi Creative Paperclay® fans, it's Cindy here, I am excited to share with you latest creation... 
Creative Paperclay® Leaf Bowls..
keep reading to see how to create your own...

Supplies:

water
silicone and sculpting tools


Now onto a video demonstration .... enjoy


Hope you enjoyed this video...


till next time
Happy Creating

xC


Tuesday, 21 November 2017

How to sculpt a Sea Turtle using Creative Paperclay®

Hi Creative Paperclay® fans, it's Cindy here, I am excited to share with you my latest project....

A Sea Turtle
keep reading to see how to create your own...


Supplies:

water
silicone and sculpting tools

Now onto a video demonstration .... enjoy


thank you for stopping by and joining me here today,


Till next time
Happy Creating
xC


Tuesday, 17 October 2017

Creating a brush/pen holder using Creative Paperclay®

Hi Creative Paperclay® fans, it's Cindy here, I am excited to share with you my latest project....
A Brush/Pen Holder

keep reading to see how to create your own...


Supplies:
water
silicone tools

Now onto a quick video demonstration .... enjoy


One last close up....

thank you for stopping by and joining me here today,


Till next time
Happy Creating
xC


Monday, 18 September 2017

Gentlemen and Mermaids.... for Scrap FX

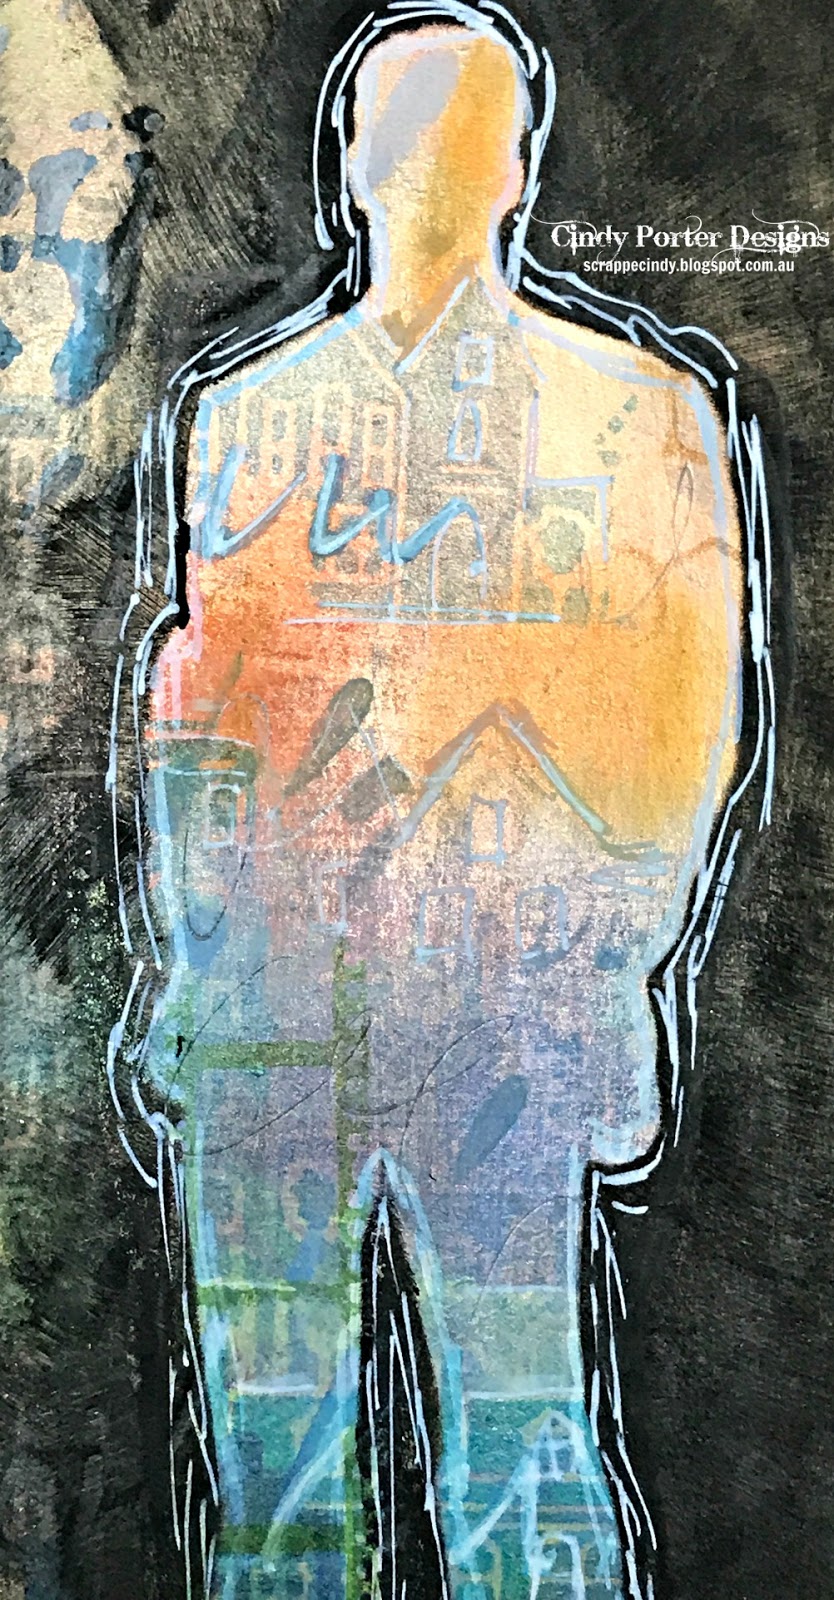
Hi everyone, today I'm sharing my latest projects for Scrap FX, a Gentlemen Journal Page Spread and a Mermaid Mixed Media Canvas, using some of this months new releases...
I had loads of fun creating this double page journal spread... 

close ups.... I used the new John and Harry stencil in the large size ( they also come in a smaller size)... over my colourful background created with lots of Scrap FX stamps and stencils...

Here you can see the Scribble Script Stencil and Filmstrip stamp over the top of the Chicken Wire stamp, and 
the new Apartments stamp, and

I also used the Chicken Wire stamp around the page spread...

I again used the Grungy Brickwork stamp around the background of the journal page spread and edged the bottom of the spread using Notebook Edge Stamp...

A couple more close ups...

One last look at the full journal spread...

Next up I have a mixed media Mermaid canvas to share full of loads of colour and texture...
I asked Jill if she would make me a larger version of the Mermaid corner so that I could create this piece... and she is gorgeous in this larger size... not that she isn't totally fabulous in the original size too.... 
I used the Angel Fish Stencil to create the fish on the canvas... it's a super cool stencil...
I used the Free Spirit Phrase on the canvas.... love this phrase...
I added the new Surf Waves to the canvas for added details...
a close up of the large Mermaid corner....  isn't she fabulous!!

One last look at the full canvas sitting on my easel at home...

till next time
thanks for joining me
Happy Creating

xC


Wednesday, 6 September 2017

Owl Journal Cover Part 2 for Creative Paperclay®

Hi Creative Paperclay® fans, it's Cindy here, I am excited to share with you the second instalment to my Owl Journal Cover.... 

keep reading to see how to complete your own...


Supplies:

Clay shaping tools
Rolling pin
Water for smoothing clay
Black Gesso

now onto how I finished this journal cover.....
if you missed part one you can find it here... Owl Journal Cover

this is where part one finished off.... with the front cover of the journal covered in a thin layer of Creative Paperclay® with my sculpted owl...

I began by creating an impression on a thin piece of clay using an impression mat...
I made 4 of these pieces to cover the front of my journal cover... 


As I was applying wet clay to dry clay.... I made up some clay slip (clay mixed in water to a runny creamy consistency) which I applied to the dry clay to help in attaching the moulded wet clay pieces...
I added some additional line work to the moulded pieces using a ball tool...

I repeated the process for the back cover.... making another 4 moulded pieces...


Next I made some thin rolls and twisted them together to form my tree branch...

I formed a clay disc to create a moon, and attached it to the cover under my tree branch...

As a finishing touch to my clay work I added a few vine curls to the tree branch...

Once the clay was completely dry I painted the background up with black gesso...

Using Vivid Siam White, I painted my moon and a base coat on my owl...

I then started adding shades of blue Silks Acrylic Glazes to the background of the front and back covers...
I added shades of brown Silks to the tree and owl...
and a little grey Silks to finish off the clouds in front of my moon...

A final look at the completed front cover....

thank you for stopping by and joining me here today,


Till next time
Happy Creating
xC


SaveSave