Showing posts with label Silks Acrylic Glaze. Show all posts

Wednesday, 7 June 2017

Creative Paperclay® June tip for saving money....

Hi everyone, and welcome.

 Today I am sharing my June tip/technique. I have a quick tip to help save you some money (we can all use that right?) and have some creative fun at the same time.

This is an idea I came up with while looking to get myself some smaller tools to sculpt with. To start I did what most of us do right - I went to google, lol... I found many people making their own tools, but out of aluminium and brass tubing.  This didn't seem economical enough for me, so I decided to create my own from a few household items and paperclay...

Supplies:
Large paperclips
Small paperclip
Sewing Pins


Directions:
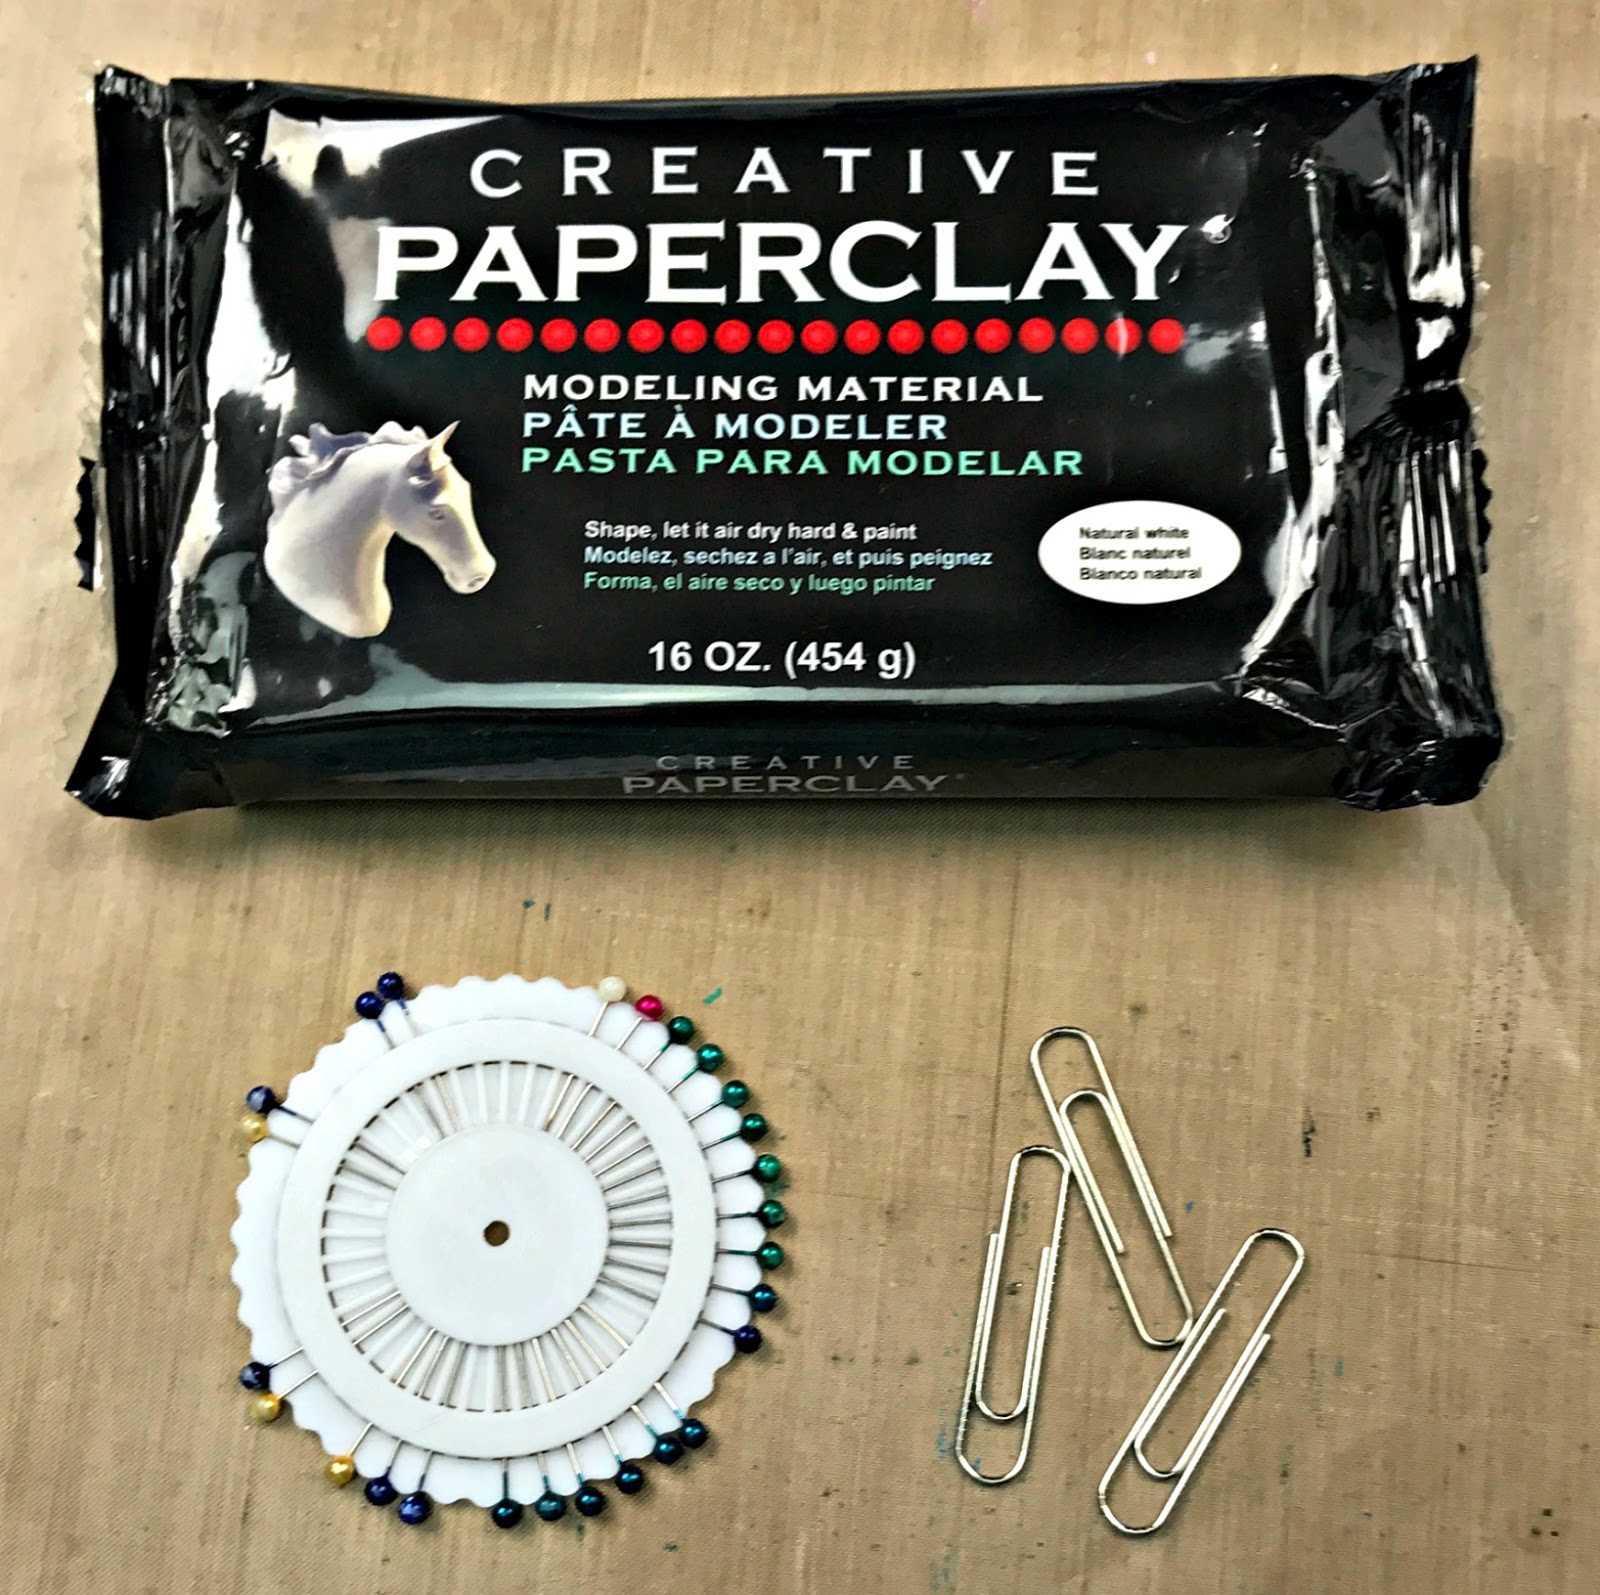
I began with my Creative Paperclay® and some basic household items.... some sewing pins and oversized paperclips...

 I removed the heads from the pins and then bent the ends slightly.... this is to ensure that they don't pull out of the formed clay handle once dry....

I applied clay both underneath the row of pins and then on top of the pins

 I kept adding clay and smoothing it out until I was happy with the size and shape, and set it aside to dry...

 Next I began with one of the large paperclips, opened it out, and left the curves of the paperclip in tack...

 I embedded the paperclip into a lump of clay...

smoothed the clay around the paperclip, and again set aside to dry...

 For my final tool, I used some jewellery pliers to make smaller loops from my paperclip...

 I again embedded the shaped paperclip into a lump of clay...

 and smoothed the clay around to form the handle....

Once again I set it aside to dry...

Once the clay was dry I grabbed out my Silks Acrylic Glazes and painted my new tools... Naturally I chose two of my favourite colours, Spiced Pumpkin and Rich Cobalt...


 So with a very small amount of of Creative Paperclay® and some basic household items I have four new tools to start creating with and I can't wait to get started.... look out for my next Creative Paperclay® blogpost where I will make use of my new tools.

thank you for stopping by and joining me here today

Till next time
Happy Creating

Cindy Porter


Sunday, 11 December 2016

Teal Haired Beauty for ColourArte

Just sharing a recent process video I created for #ColourArte.... "Teal Haired Beauty" a mixed media canvas I painted using Silks Acrylic Glazes...


Hope you enjoyed it, and I would love a thumbs up and to hear your comments if you did.... 

till next time
happy creating

xC

Monday, 18 July 2016

ColourArte - Blue Bombshell

Hi all just wanted to share my second video for ColourArte.... I created a mixed media reverse canvas to show off their gorgeous Silks Acrylic Glazes....


I hope you enjoy...

till next time 
happy creating
xC

Sunday, 19 June 2016

Scrap FX fun...

Hi everyone, thanks for joining me here...
Today I am sharing a couple of my latest projects for Scrap FX...first up a mini artist palette


 I had a load of fun playing with the paint palette (large), it comes in two sizes, medium and large...
I used two different stencils on my paint palette to create my background texture.... the Hexagonal Pattern Stencil around the edge of the paint palette and the Words of Wisdom Stencil in the middle...

I also had a ball playing with the paint set.... which includes the two different paint tubes....
 and the paint brush, with that great saying on it... "awaken the artist within"
I also added the hashtag title #own your talent.... from the #Achieve pack 

I added some gauze and flowers to finish it off.... 

Scrap FX products used:


Next up I have a layout to share "Treasure"


this gorgeous cutie is the granddaughter of a friend of mine.... 
for this layout I stamped my background and coloured it with watercolour pencils...

 I used the title "Treasure...." which reads treasure those you love...

I used the new Scribble flowers....as part of my flower cluster on the layout...

Scrap FX products used:

I hope you enjoyed these projects, till next time,
Happy Creating

xC

Thursday, 31 March 2016

some fun with ColourArte

 Hi everyone, thanks for joining me.... today I like to share a couple of projects I created using some fabulous ColourArte products... 

First up I have a layout to share: Phuket

Products used:

Here's the process:
  cover white cardstock with clear gesso and then apply modelling paste through a stencil and dry

 select your colours of twinkling H2O's and activate them with water then apply in the general area of your stencilling.

 paint your title with the activated H2O's

 add some random stamping around your H2O colours

diecut some feathers from white cardstock and paint up with the same twinkling H2O's.

 add some random line sketching with a fine marker, for added interest and to help make the the vivid colours pop right off your page.

/'
next start to build up your photo layers, I used some white corrugated card, mini doily, green dotted paper, gauze and some bubble diecuts, along with our coloured feathers... 


 add some random mini beads for a finishing touch...


Next up I have a canvas to share...


Products used: 

Now onto the process:
 I began by applying paper scraps onto the canvas using gel medium.

next I started painting on my Silks acrylic glazes in the warm colours...

and then I added the cool colours.... 

 next I randomly stencilled on some gesso...
I almost stopped the project here as I really liked the abstract feel of the canvas... 

  but I decided to keep going.... I designed out my image using gesso...  don't be put off if you feel that you can't draw as you can use graphite paper to transfer a photo copied image... and then paint it out...


 finally I added in some black and white detail to finish him off... 


thanks for stopping by,
happy creating,
xC