Hi everyone, thanks for joining me here today...
Today it's my turn today over on the Scrap FX blog and I'd like to share a step by step tutorial I created Layering Stencils to create your page background.
Step 1: To begin you will need two stencils.
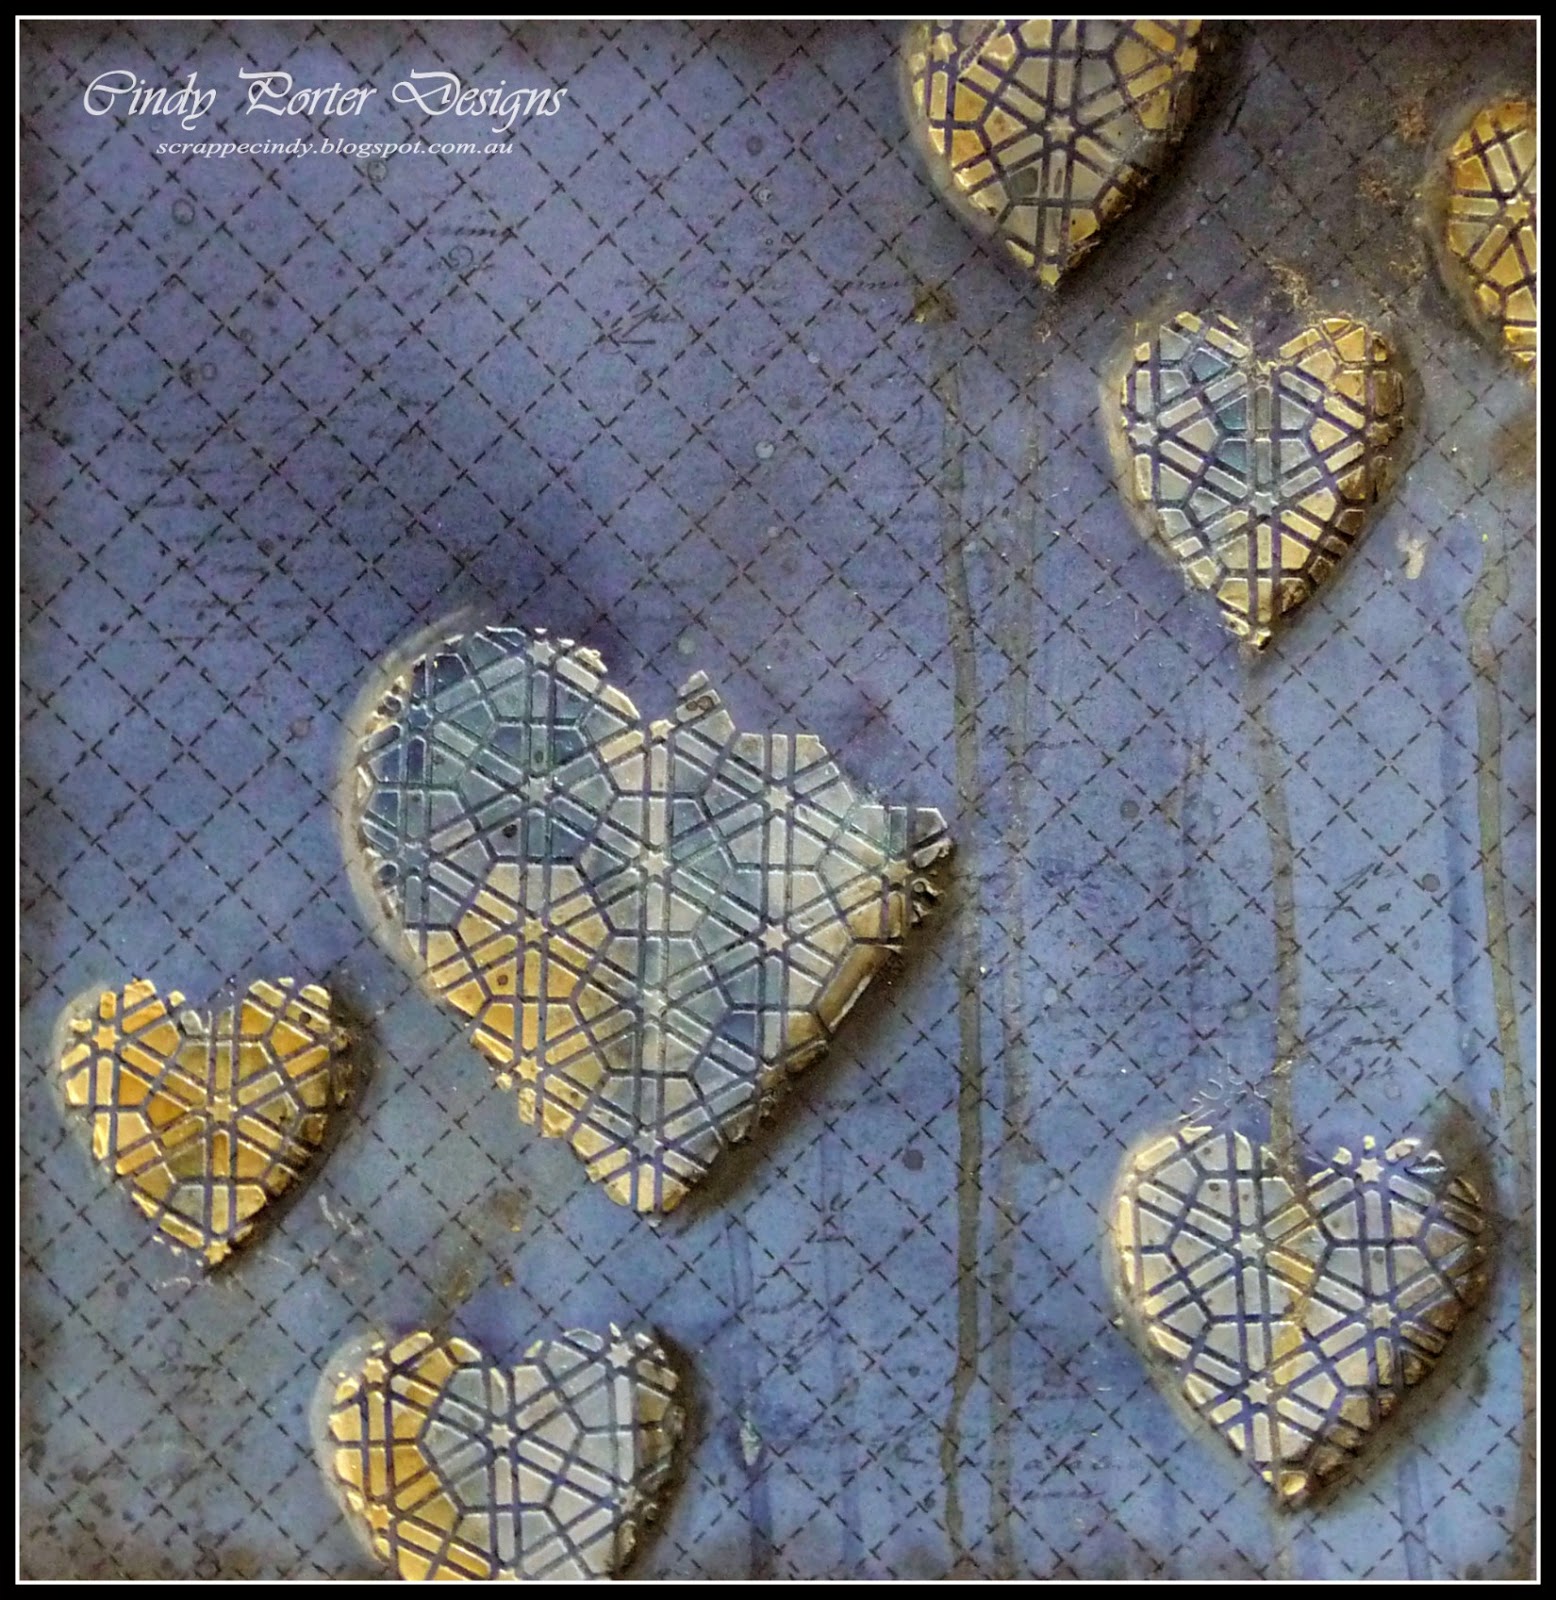
Choose a small patterned stencil I chose the Scrap FX Hexagon Pattern Stencil and a wide open shaped stencil, I chose the Scrap FX Heart Stencil.
Lay the small patterned stencil on the page first and the shape stencil over the top as shown below (if you have trouble holding the two stencils, tape them together with some masking tape to hold the position)
Step 2: using modelling paste (or your chosen medium, as this technique will work with texture paste, gel medium, impasto and many other mediums) and carefully fill in the stencil shape, you will need to be a little careful so as not to push paste under the top stencil and loose your shape.
Step 3: carefully remove the stencils one at a time and then repeat steps 1-3 to decorate your background.
Step 4: Spray with a Starburst spray (I used Afternoon Delight Denim)
and then spritz with water and allow to drip down the page
Step 5: repeat the process using Moonshadow mist (I used Silhouette Silver)
Step 6: use Gelatos to give depth and shadow to your hearts, remember to put dark on the same side of all hearts and light on the opposing side to give highlights and shadows.
Step 7: use a wet paint brush to blend the Gelatos and create shadows and highlights around each heart... this makes the hearts really pop off the page...
Step 8: I used the Darkroom Door French Script stamp to randomly stamp on the paper around the hearts, this provides a subtle fine pattern to our background. Just look at how 3D those hearts look using the Gelatos provides such depth

Step 9: Now that our background is complete it's time to finish off our layout... I used the Moonshadow mist to colour the Scrap FX title and embellishments.
I sprayed some gauze with the Moonshadow mist, inked up some corrugated cardboard, and punched a couple of strips of paper with a paw print punch.... I layered all these items under my photo of my furbaby Henri's photo, he really does have a tough life, lol...
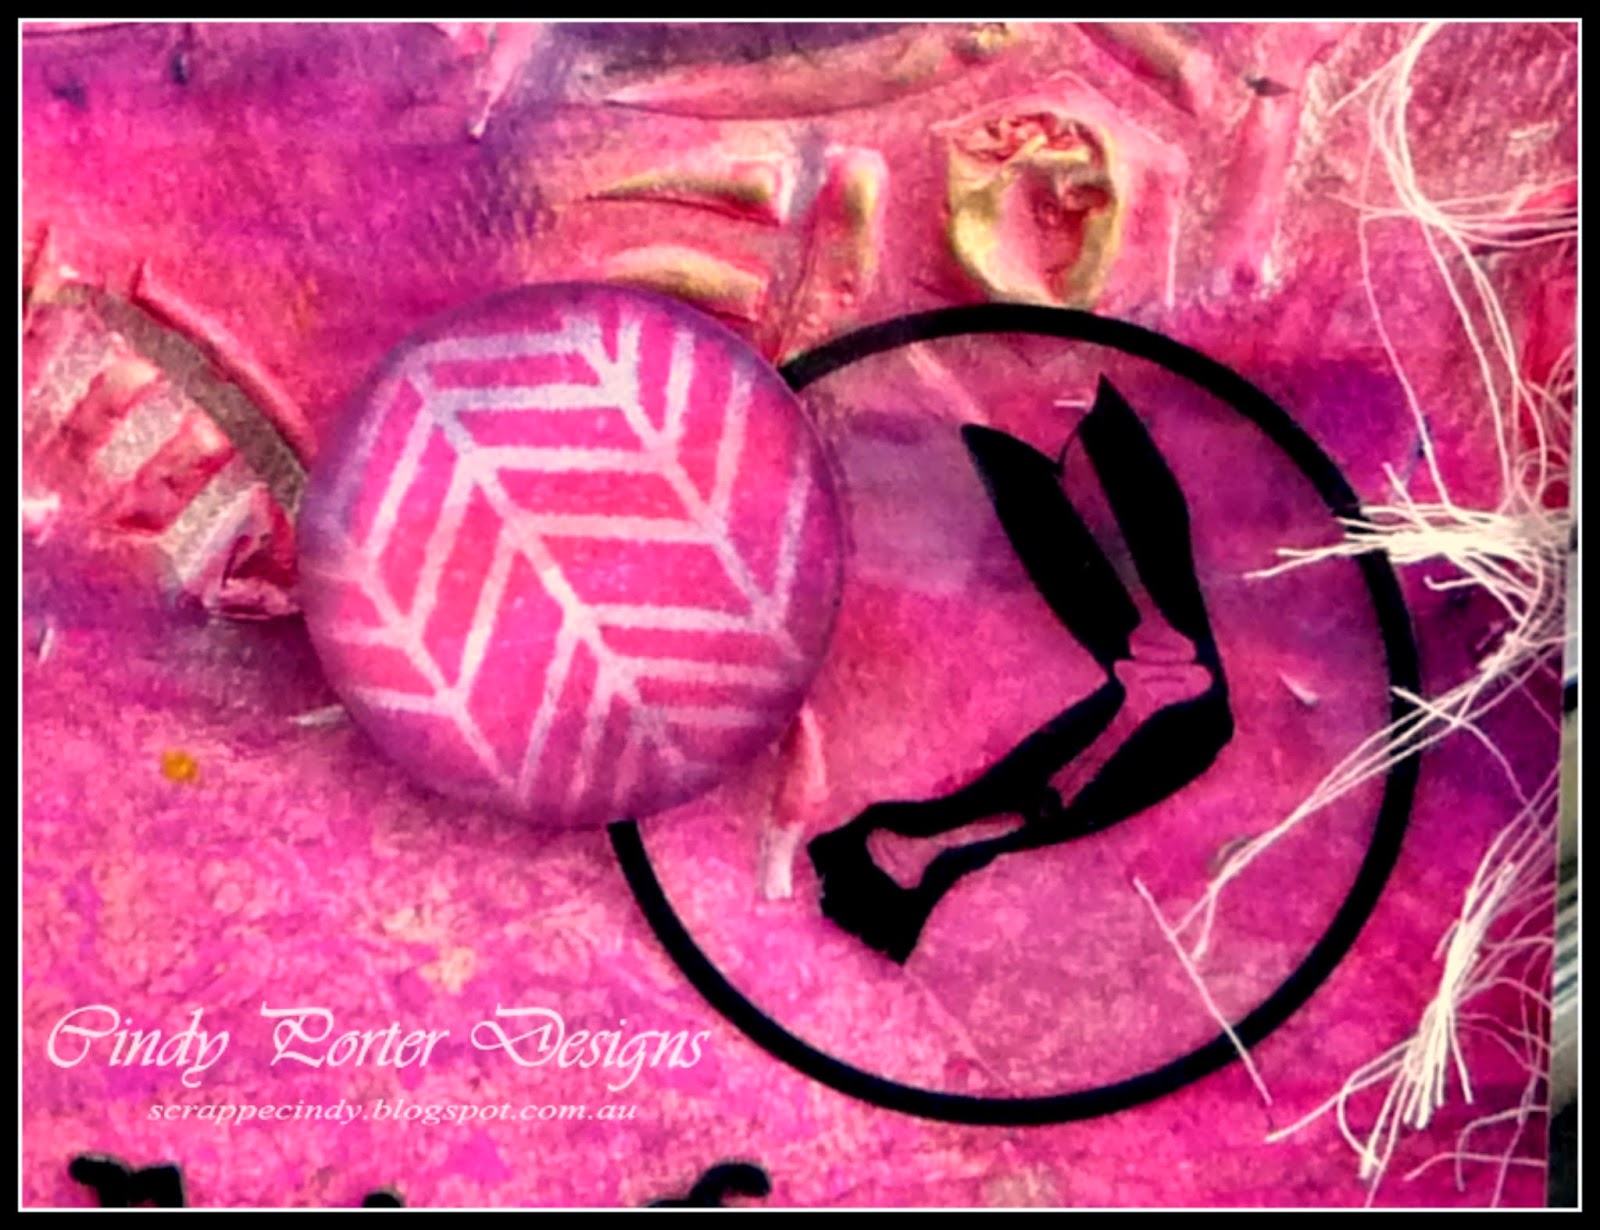
and to finish off I used a flair that I applied a little gesso to the edges so I could ink it up as it was too white for my layout... and here it is..
and to finish off I used a flair that I applied a little gesso to the edges so I could ink it up as it was too white for my layout... and here it is..
I hope you enjoyed this tutorial and that you will give layering of the Scrap FX stencils a try.
Scrap FX Products used:
Other Products used:
Lindy's Stamp Gang:
Silhouette Silver Moonshadow Mist
Afternoon Delight Denim Starburst Spray
Faber-Castell Gelatos
Funky Flairs 'n Flowers:
till next time
happy creating
xC


