Showing posts with label Tutorial. Show all posts

Saturday, 27 June 2015

Ta Prohm

Hi everyone, it's Cindy here with my second blog post for the month.... I'm excited to share another layout I created using the new Heart Ease paper collection.


 To create this layout I began by die cutting from Core'dinations Cardstock....

I cut two sets of the Nesting Dies Victorian Rectangles....I set them up on my magnetic platform to cut as frames...


I cut the Honeypot die.... of which I only wanted to use the small confetti pieces...

and I cut the Simone's style border 

I used Hearts Ease paper as my background  and marked out my photo position ... Then with a stencil I die cut from a  glossy magazine cover, I applied white sand texture paste around the marked area...

Once dry... I inked over the texture paste and inked up the die cut nested frames...
I adhered some of the honeypot confetti to the background and adhered the inked frames...

a close up of the texture and inking...


 I added some cotton thread under the photo, which is mounted up on foam tape...

to finish off the layout I coloured up some of the bulk white flowers, and cut a couple of Cycad Fern leaves...


Dies used:
GX-1900-00 - Core'dinations Cardstock - Tim Holtz - Distressed Collection

Tools and Accessories used:
Adhesives used: 

till next time
happy creating

Wednesday, 10 June 2015

Memories

Hi everyone, it's Cindy here with my first blog post for the month.... I'm excited to share a layout I created using the new Heart Ease paper collection.


To create this layout I began by die cutting the Simone's style border and the Jocund Julie dies...from Coredinations Cardstock....

and the Honeypot die.... which I cut into multiple pieces...


I also cut the the Memories Tag set....


 I randomly "messy" stamped up the background using the new Heart Ease stamps... just to create some random texture to the background...


 Next I stencilled some Glitzin' Glamour rainbow randomly onto my background, using a magazine cover stencil I created from the Nostalgia die....

 Everything was inked up with distress ink using a sponge dauber...

 I embossed another piece of the Distressed Coredinations cardstock...

then it was just putting it all together.... and decorating with gemstones...


Dies used:
GX-1900-00 - Coredinations Cardstock - Tim Holtz - Distressed Collection

Embossing Folders used:

Tools and Accessories used:
Adhesives used: 

till next time
happy creating

Monday, 15 December 2014

You make me Happy

Hi everyone, thanks for joining me here today...and welcome to my third post this month for D-lish Scraps .... Today I'd like to share with you a small canvas I created.... 
"You make me Happy"

 Tigers are my happy place.... and I love this photo from my Tiger experience in Dreamworld...

 this flair button from the 'life in boken' set is absolutely perfect for my canvas.
My background was created with the Scrap FX circle weave stencil....

 I used one of the 4.5"paper doilies and sprayed it with some Lindy's Stamp Gang sprays to match my canvas...

I created a cluster using a medium rose, mini roses,  and a couple of leaves... I used sequins for the flower centres... I also used a little rhinestone heart....

I also used the sequins and rhinestone hearts to decorate the canvas.... 

As a little bonus I videoed my process of creating this canvas... I hope you enjoy it...


till next time
happy creating
xC

Friday, 25 July 2014

Scrap FX step by step Tutorial

Hi everyone, thanks for joining me here today...

Today it's my turn today over on the Scrap FX blog and I'd like to share a step by step tutorial I created Layering Stencils to create your page background.


Step 1: To begin you will need two stencils.  
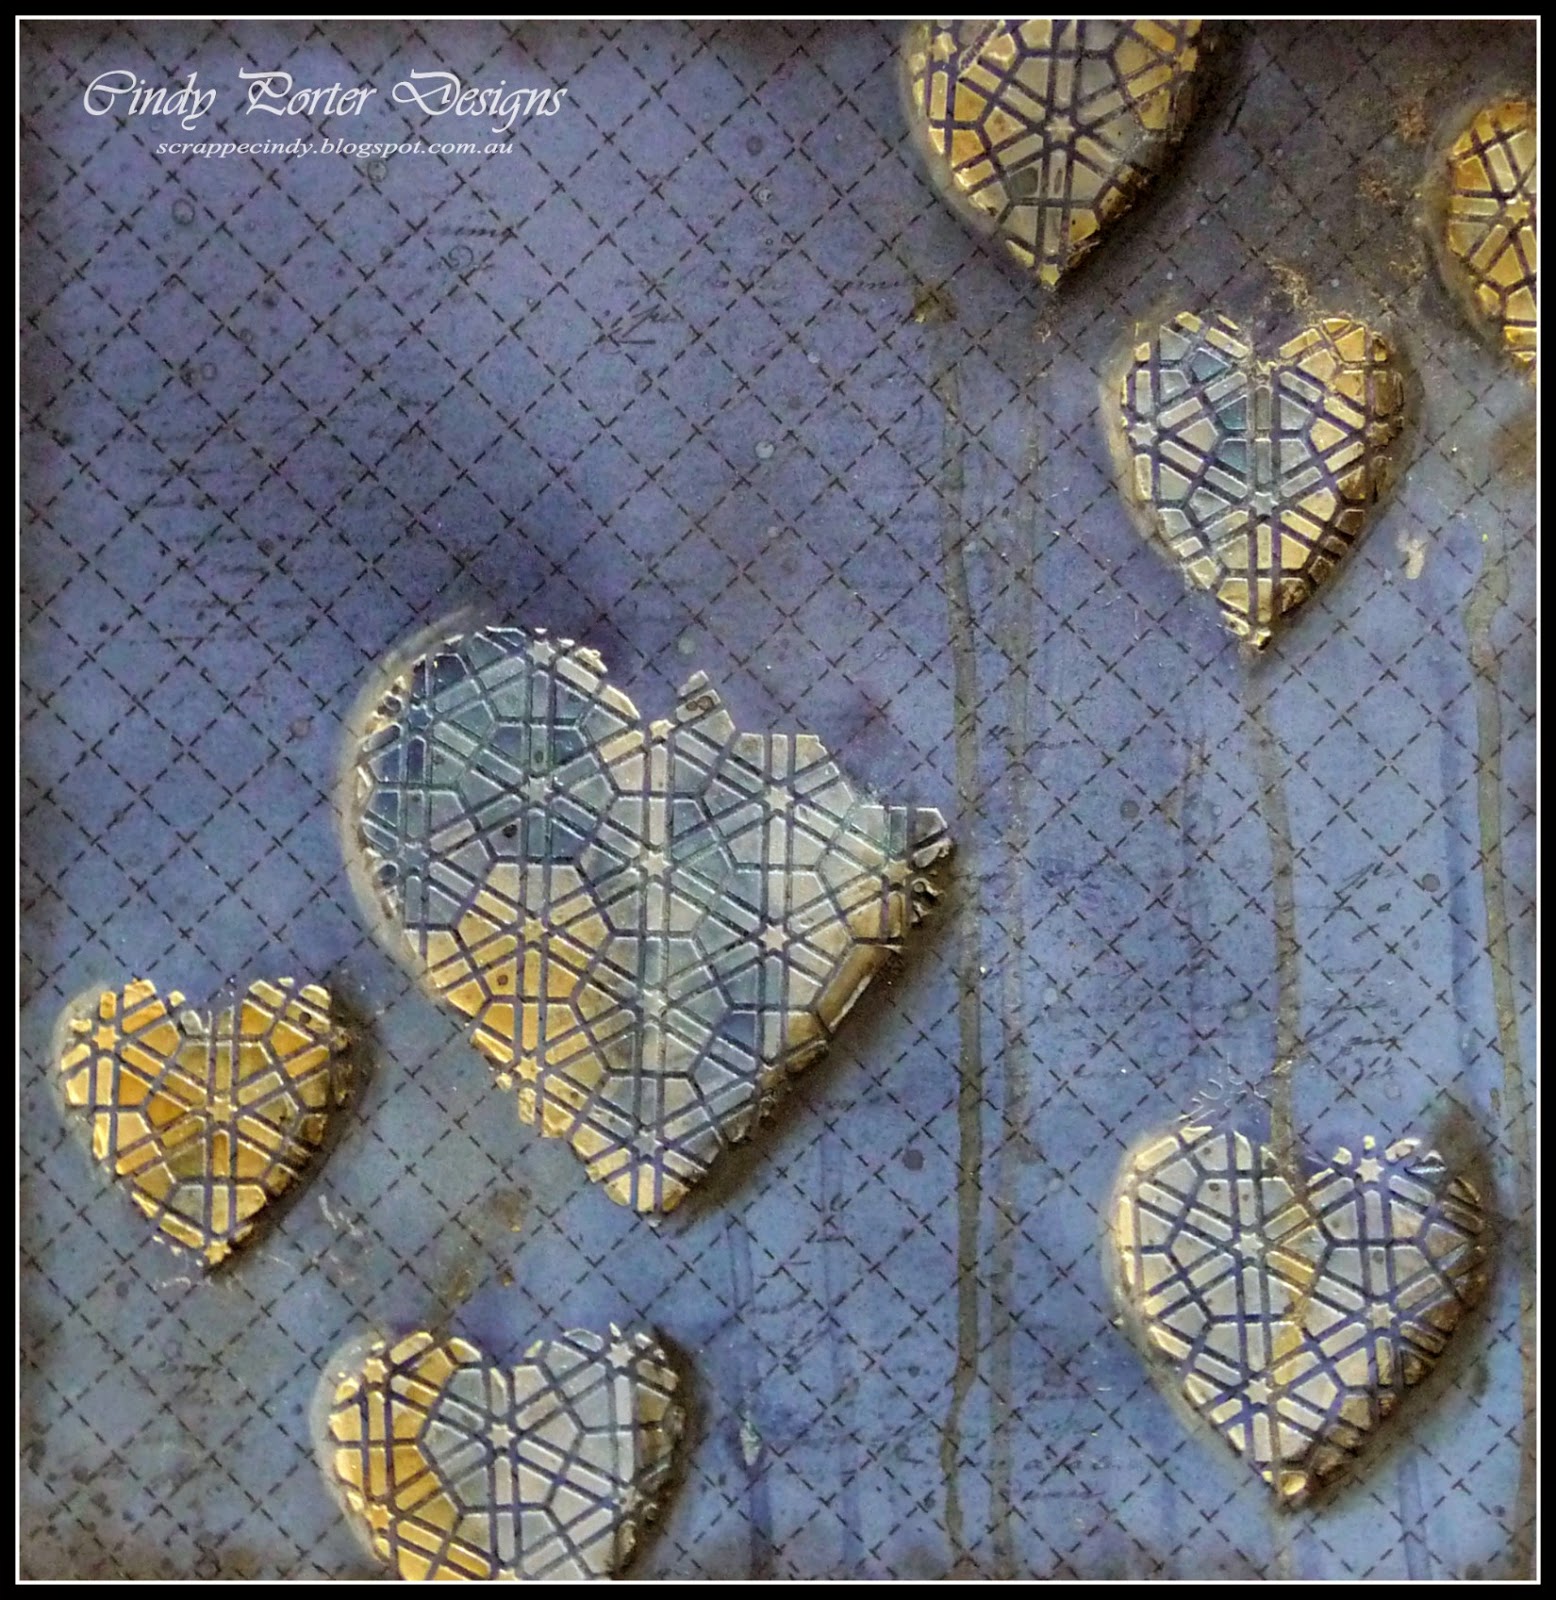
Choose a small patterned stencil I chose the Scrap FX Hexagon Pattern Stencil and a wide open shaped stencil, I chose the Scrap FX Heart Stencil.
Lay the small patterned stencil on the page first and the shape stencil over the top as shown below (if you have trouble holding the two stencils, tape them together with some masking tape to hold the position)

Step 2: using modelling paste (or your chosen medium, as this technique will work with texture paste, gel medium, impasto and many other mediums) and carefully fill in the stencil shape, you will need to be a little careful so as not to push paste under the top stencil and loose your shape.

Step 3: carefully remove the stencils one at a time and then repeat steps 1-3 to decorate your background.   

Step 4: Spray with a Starburst spray (I used Afternoon Delight Denim)

 and then spritz with water and allow to drip down the page

Step 5: repeat the process using Moonshadow mist (I used Silhouette Silver)

Step 6: use Gelatos to give depth and shadow to your hearts, remember to put dark on the same side of all hearts and light on the opposing side to give highlights and shadows.

Step 7: use a wet paint brush to blend the Gelatos and create shadows and highlights around each heart... this makes the hearts really pop off the page...
 

 Step 8: I used the Darkroom Door French Script stamp to randomly stamp on the paper around the hearts, this provides a subtle fine pattern to our background. Just look at how 3D those hearts look using the Gelatos provides such depth


Step 9: Now that our background is complete it's time to finish off our layout... I used the Moonshadow mist to colour the Scrap FX title and embellishments.
 I sprayed some gauze with the Moonshadow mist, inked up some corrugated cardboard, and punched a couple of strips of paper with a paw print punch.... I layered all these items under my photo of my furbaby Henri's photo, he really does have a tough life, lol...
and to finish off I used a flair that I applied a little gesso to the edges so I could ink it up as it was too white for my layout... and here it is..


I hope you enjoyed this tutorial and that you will give layering of the Scrap FX stencils a try.

Scrap FX Products used:


Other Products used:

Lindy's Stamp Gang: 

Silhouette Silver Moonshadow Mist
Afternoon Delight Denim Starburst Spray 


Faber-Castell Gelatos


Funky Flairs 'n Flowers:


till next time
happy creating
xC