Thursday, 4 July 2013

Precious Innocence

Hi everyone this month Scrap FX released a whole lot of new stencils and wow, I'm in love!!  I had so much trouble deciding which ones to use first.... here are couple of layouts I created....

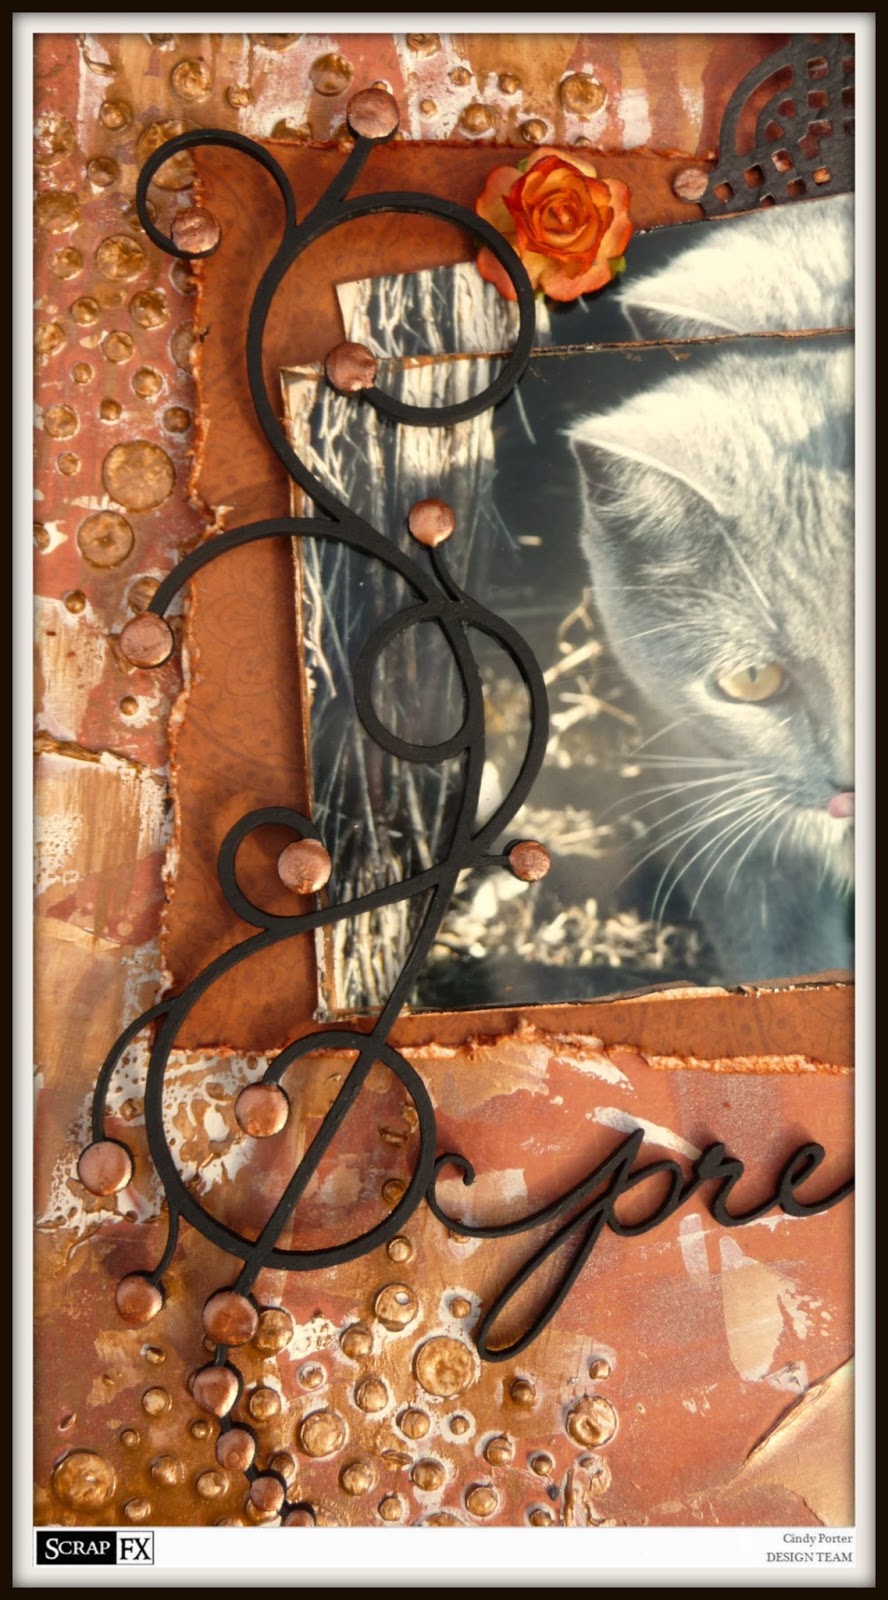
First up is "Precious" a layout featuring my adorable fur baby "Cleopatra"....using the Random Circles Stencil...


On this layout I also used one of the new flourishes and one of the new "midi" titles that I just adore!! Don't you just love the texture from that Random Circles Stencil!!


Products used: 
Scrap FX: Precious midi


Next up is "Precious Innocence" a layout featuring my late mum and I (along time ago lol) ....using the the new Peacock Feather Stencil....


For this layout I also used another of the new flourishes and more of those fantastic midi titles...


check out the detail you can get from the gorgeous Peacock Feather Stencil...just love it...


Products Used:
Scrap FX: Precious midi
Scrap FX: Innocence midi

till next time
Happy Creating
xC

Wednesday, 3 July 2013

blog lovin'

<a href="http://www.bloglovin.com/blog/6627343/?claim=zm3f8tuhjxr">Follow my blog with Bloglovin</a>

Just trying to sort out blog lovin....  and I think I've done it...

Thursday, 27 June 2013

Journal Book Cover

Hi everyone I'd like to share with you a step by step on how I created my journal book cover.
Book9
Start with a hardcover book and remove all of the pages.
  PicMonkey Collage
Using Helmar Tacky Craft Glue  put a nice thick layer  of the glue over the the outsie of the book cover.   For best results make sure that you have a nice white thick layer.
Book3
Using an open flame (I like to use a candle) carefully and slowly burn the glue by passing it slowly over the open flame.  This process is time consuming and should not be rushed, keep passing the glued cover over the flame until the entire cover is burnt, as seen below.   Note that as you burn the glue it will bubble up and stretch, this creates the amazing texture.
Book5
Once the cover is burnt gently(as the glue underneath is often still not set) wipe with a soft cloth to remove the soot.
After leaving the cover for a couple of hours ( I left mine overnight) to allow the Helmar Tacky Craft Glue to dry completely, rub the cover over with Inka Gold.
Book6
Don't forget to shine up the cover with a soft cloth.
Book7Here is a close up of the amazing texture that is achieved from the Helmar Tacky Craft Glue.
Book8
Finish off the Journal, lining the inside of the cover with printed paper using Helmar Acid Free Glue. Use eyelets and seem binding to hold in your pages.
Book10
I hope you've enjoyed seeing this project as much I as enjoyed making it
Till next time
xC
Helmar

Sunday, 23 June 2013

Paw Prints on my Heart

Another quick share with a layout of my gorgeous furbaby, Tiger Lily. 
I created this layout using plenty of Scrap FX and Helmar for a sketch over at Skissedilla.  


Products used:

Till next time
Happy Creating
xC

EDIT:  This post has been highlighted on the Party Time Tuesday Blog where a wonderful Design Team posts daily to inspire you. On Tuesdays they have weekly challenges offering prizes for participants. Go check Party Time Tuesdays Your Daily Dose out! Your going to love it!

Friday, 21 June 2013

Unforgettable

Thought I'd share a layout I created recently. 
Just a quick layout of one of my fav photo's of my hubby and I....


Now don't forget we currently have a great challenge on the Scrap FX blog, it's your chance to get featured on the blog, how cool is that, here's the details again...

We want to see your card creations featuring ScrapFX products! So starting now until July 15th upload them to our Facebook page and show us what you got. Don’t have Facebook? Its okay, leave us a link here in the comments section and we’ll come visit you. Please be sure to leave a direct link. The Design Team will get together to decide on who really rocked the hizz-ouse based on creativity and of course how you made ScrapFX shine!! This cardmaker will be the winner of the prize pack shown on the Facebook page and you will be featured right here on the blog!! So what are you waiting for? The cardmaking frenzy starts now! Looking forward to seeing your creations!!

Till next time
happy creating
xC

Tuesday, 4 June 2013

More Scrap FX

Hi  today I have a  couple of layouts I have done for Scrap FX to share with you all.
First up "Magnificent" a layout sharing my time at the Trevi Fountain in Rome.  
For this layout I made the most of the Nappy Pin Journal Spots and the new Wood Grain Stencil to transform them into an extra embellishment.
P1190736f
A way to change these pieces from a baby's page to use on any layout.
P1190736b
Here you can see the mini Sun used just as a filler for a bit of movement.
P1190736h
the products I used to create this layout:

Next up another layout "Moments"
P1190739c
For this layout I used the Honeycomb Patchwork stencil to paint the background pattern.  As this is a chipboard stencil it is easy to use to create a painted image .  I also had fun using the Mini Wings with a clock face on this layout.  The new mini shapes are so versatile and I think I'm in lurve. On this layout I used the Helmar Liquid Scrap Dots to make the title stand up on the page.
Products used in creating this layout:
Thanks for stopping by, I hope you're feeling inspired.  I hope to see you sharing your creations of the Scrap FX facebook page soon.
till next time, happy creating
xC

Friday, 31 May 2013

Art Doll

What do you get when you combine all of the following..??
Mixed pic

Well an art doll of course!! 
I began with a regular doll, picked up second hand.  I always use baby wipes to clean up my work space after spraying with glimmermists and I like to recycle these, for just such a project. 
I used the pre-coloured baby wipes to wrap the doll and adhered it with Helmar 450 Quick Dry adhesive.
Mermaid
Mermaid1
Using the Helmar 450 Quick Dry adhesive you can manipulate the shape of the wet ones to create a nice shape for your doll.  
Next using Helmar Gemstone Glue I created wavey lines and coated them with glitter to decorate the doll.  I used Helmar 450 Quick Dry adhesive to attach flowers to the front of the doll and then painted the doll with Viva Precious Metal Colour.
Mermaid5

Finally, I used Helmar 450 Quick Dry adhesive to attach some lace around the head. and Helmar Professional Acid Free Glue to secure the strips of wet ones to create the skirt at the bottom.
Mermaid4
I hope you enjoyed this project and I hope to see you sharing your creations on the Helmar Facebook Page.
Just before I go, I'd like to thank my good friend Linda Baldock for the inspiration in creating this project, she creates many amazing art dolls, and is another fan of Helmar adhesives too!
Till next time
Happy Creating
xC
Helmar
Helmar Design Team 2013


EDIT:  This post has been highlighted on the Party Time Tuesday Blog where a wonderful Design Team posts daily to inspire you. On Tuesdays they have weekly challenges offering prizes for participants. Go check Party Time Tuesdays Your Daily Dose out! Your going to love it!

Wednesday, 22 May 2013

Thank you & A Winner

Hi I would like to thank everyone who participated in the Scrap FX blog hop... it was fantastic to have so many people actively participate in the hop.  I would also like to thank everyone for the wonderful comments and encouragement that I have received.... The joy of sharing even just a little of what one knows is so fulfilling when you hear how it encourages others.... So thank you one and all....
and now I bet you are all dying to know who won my little blog giveaway ... although I didn't actually get a chance to do the draw on Tuesday like I promised... before I knew it, it was the early hours of Wednesday morning already, sorry about that.... but without further a due ....

the winner is                  Buffy Esser

 So Buffy if you could please email your address to me at ascrappetiger@gmail.com, I can get your prize sent out to you....Congratulations Buffy...

Till next time
Happy Crafting
xC

Friday, 17 May 2013

Scrap FX Blog Hop

Welcome to our Scrap FX blog hop if you are hoping along you should have arrived here from Anita's blog, hope you're enjoying the hop and getting loads of inspiration along the way.... and don't forget your chance to win the major prize pack on the Scrap FX blog....

First up I have the get to know us better questions....
What is your scrapbook "Kryptonite"(what style/colour/etc will people never see on your creations because you cannot deal with it???)  Well, my Kryptonite has to be "cutsie" .....give me grunge any day...
What do you listen to or watch wile you scrap and why?   Well, I love to play movies or TV series on DVD, preferably  something I have already seen and enjoyed..... that way I can create and not be distracted....currently I am enjoying the TV series' "Eureka and Friday Night Lights"
Do you snack or drink while scrapping? What?  Confession time yes I snack while scrapping.... preferred snack: "Raspberry Choc Bits" OMG! totally irresistible....
How do you jump start your creativity when you find that it is missing?  Tough question to answer, but I force myself to start painting, drawing or stamping anything and I just keep doing it until it's back.... Usually, the hardest part is to actually start, get over that hurdle and your back!
What is your favourite technique(s) to use right now and why? What are some tried and true techniques you love to use? Right now I love making textured backgrounds with stencils, impasto, gesso and modelling paste.... Tried and true  techniques, distressing and inking everything, has to be right up there for me...
At what time of day are you most creative, or do you prefer to create?  My most creative time is from midnight to three am! Creative juices freely flowing after midnight!!
What makes you heart race?  Easy, riding my Harley Davidson!! Creating!! Teaching!! Oh and my hubby of course, lol!
If you were to describe one emotion while scrapbooking, what would it be?  Fulfillment!
What are you afraid of? Without question SNAKES! Oh, my Gawd, just typing it gives me chills!!!
If you could choose a talent/gift, what would you take? Tough question, hmmm, and I'm probably supposed to choose something arty/crafty but.... I think I'd have to say Time Travel....you know like in the movies "Jumper/Time Travelers Wife" so I can jump to any point/place in time.... that would be awesome... Yep I think that would have to be it for me...

So now onto my little bit of inspiration that I have created to share with you all today.... "Dream" An Altered Frame...


I wanted to create something using some of my favourite products, naturally Scrap FX (the best chippie), modelling paste/impasto and fantasy film and all put together using Helmar adhesives.

To create the background on the frame, I used modelling paste and a simple plastic knife (you know like you'd use at a picnic) they create great texture and are so cheap!!
For my background inside the frame I used the Scrap FX stencil, (Daisy Garden) with impasto, I then force dried the impasto to get it to bubble up...  the whole thing was then painted with gesso and sprayed with various colour sprays, a little metallic rubs applied to the stenciled area and the background is complete.


 For the wings I used the Scrap FX (Flourish P, Damask Corner) painted them black and using Helmar Professional Acid Free Glue adhered fantasy film to the back of each corner.  Once the glue had dried, I heated the fantasy film, causing it to shrink and cling to the corners, next using a soldering iron I created the holes and rugged edges of the wings.
  The final chipboard pieces were painted black, and all pieces were coated with glossy accents to finish them off.  The embellishments were adhered with Helmar 450 Quickdry Adhesive to finish the project off.

Here's a list of all the glorious Scrap FX chippie I used:

I hope you've been inspired to create your own wonderful chippie creations.

Now before I send you on your way to continue on with our hop, I have a little bit of blog candy for one lucky person to win.

So I am going to ask you to follow my blog, and for your chance to win leave me a comment below and you will be in the draw.  The winner will be drawn Tuesday 21st May, good luck.

So now it's time for you to continue on your way and hop on over to Claire's blog.
Thanks for joining us on our hop.
Till next time,
Happy Crafting
xC

Cindy   << you are here

Thursday, 16 May 2013

Helmar Altered Bottle


Hi everyone, this is my first ever official post for Helmar.   I was so thrilled to be invited to join this team, I have used Helmar glues for as long as I can remember and there is no doubt they are the best adhesives available on the market.  So I am super stoked to share with you my first offical creation an altered bottle.  
I found this bottle in Vinnie's store and just fell in love with it, it was screaming for a make over.
Bottle

So my first step was to give the whole bottle a good spray of Helmar Crystal Kote Fixative Spray, I wanted to create a more workable surface, as glass is quite unfriendly to many mediums... the Helmar Crystal Kote Fixative Spray drys in seconds and creates a great workable surface.  
Next step was to give it the once over with gesso and let that dry.

Bottle1
Then to add some colour I used a couple of Glimmermist sprays.  What I discovered using the Helmar Crystal Kote Fixative Spray as a base allows the gesso to give an almost fake crackle look when soaked with the Glimmermist, leaving you with all these great textures and patterns.

Bottle2

Bottle3
After the bottle had dried it was time for all the finishing touches, so I grab the 450 quick dry adhesive  and use it to adhere lots of flowers, then grab for the Gemstone glue to stick rhinestones in the flower centres.   Gemstone glue has to be your adhesive of choice for rhinestones as it does not cloud them in any way and drys perfectly clear... even if you get some on the top of the rhinestone it won't loose it's shine....what more could you ask for...

helmar-alteredbottle-cindy

Bottle5a
Well I hope you enjoyed the project and I hope to see you sharing your projects over on the Helmar facebook page.
Till next time,
Happy Creating, xC 

Helmarcindy 
Helmar Design Team 2013

EDIT:  This post has been highlighted on the Party Time Tuesday Blog where
a wonderful Design Team posts daily to inspire you. On Tuesdays they
have weekly challenges offering prizes for participants. Go check Party Time Tuesdays Your Daily Dose out! Your going to love it!

Monday, 6 May 2013

More Fabulous Scrap FX


Today I'd like to share with you some layouts I've  been creating using some of the fabulous new Scrap FX chippy designs, I just fell in love with the new graphic circles, frame and corner.... just love, love, love them....

So first up I want to share with you "Snapshots" a fun colourful layout using some of those great new graphic pieces...  naturally the layout was all put together using the best of Helmar adhesives...

I raised the Snapshots title and Moments title using Helmar Scrap Dots, the photo's were secured using Helmar Quickfix Adhesive Runner, and the rest of the Scrap FX elements were secured using Helmar Professional Acid Free Glue.

P1190471d
 P1190471c
The  Scrap FX Pieces used in creating this layout  are:
Graphic Corner: 2013078
Graphic Circles: 2013076
Stained Glass Stencil: 2012159
Snapshots: 2012121
Moments Words: 2013054
Scribble Circles: 2013044
Playground Alphabet: 2012306

Next up is a layout I created "Good Times Together" , loved this new chippy title, perfect for this layout.
I really had fun creating this layout, and spent loads of time playing with the background to get it just right, and set the whole thing off with the delicate touches of the gorgeous chippy ruffled feather...

good times h
Scrap FX chippy used in creating this layout:
Ruffled Feather: 2012223
Good Times Together: 2013072
Flourish D:  2006153

And finally, I have for you a quick layout I created "Simply the Best" again focusing on those new graphic designs.   In this layout I used distress embossing powders on the chippy to give it a ruff finish...

simply the best 1part
Graphic Frame: 2013077
Playground Alphabet: 2012306
Graphic Circles: 2013076
Urban Corner: 2013081
Simply the Best: 2012280
Arrow Collage Stencil: 2012130
Arrow Boxes: 20122373
Cogs: 2007184

That's all from me today, hope to see you all sharing your Scrap FX creations over on the Scrap FX facebook page.

Till next time, 
Happy Creating
xC
Good Times Together

Next up is a layout I created "Good Times Together" , loved this new chippy title, perfect for this layout.
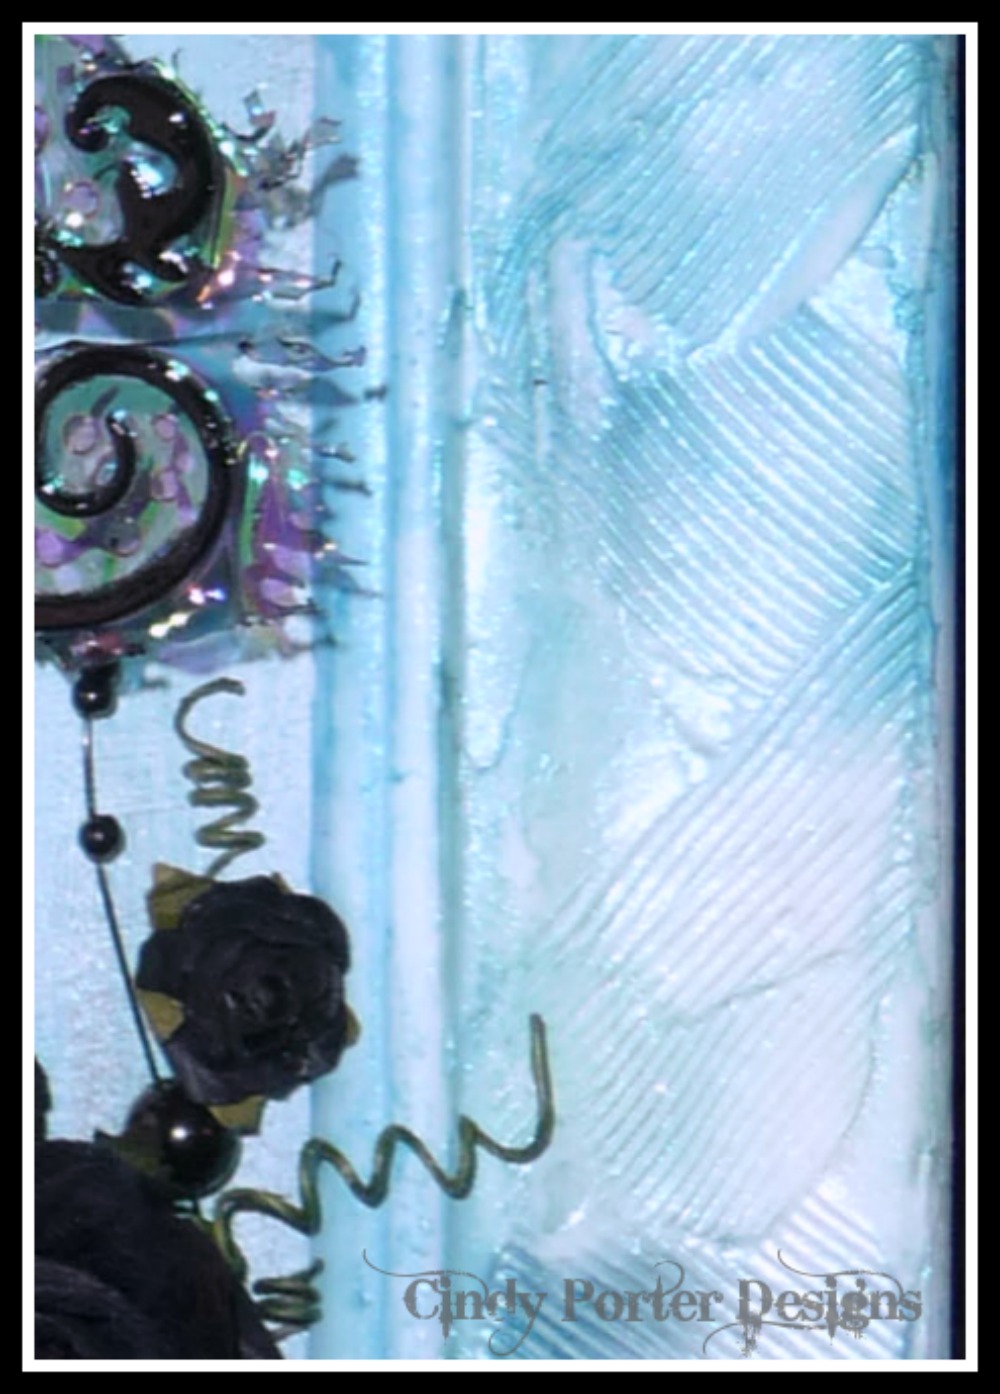
I really had fun creating this layout, and spent loads of time playing with the background to get it just right, and set the whole thing off with the delicate touches of the gorgeous chippy ruffled feather...
The background was created using different coloured embossing powders layered up and then coated with different coloured glimmermist sprays.... The layered tags are also embossed with multiple layers of different coloured embossing powders and stamps...
this layout shows how I love to use embossing and is perfect for the Mixed Media Palace challenge: 
How U Use embossing

good times h
Scrap FX chippy used in creating this layout:
Ruffled Feather: 2012223
Good Times Together: 2013072
Flourish D:  2006153