Thursday, 30 April 2015

All life is an experiment

Hi everyone, thanks for joining me here today for my final April post for D-lish Scraps. I'd like to share with you all a journal page I created "all life is an experiment"...


I often love to play and experiment with newly acquired products in my art journal...  this is a page I created when I got some new grungy stamps...

I used the Scrap FX Circuit Board Stencil to create my initial background texture and then sprayed that up with some Lindys sprays...
I used a couple of the Freckled Fawn arrow paper clips to decorate the page...
to further decorate my page I used some of the Little Birdie micro beaded florettes and some adhesive rhinestones...


and finally my quote... from another Aussie company (Darkroom Door)... backed by some hard to see coloured tulle, washi tape and a couple of heart pins...

Don't forget with the cybercrop challenges you now have the whole month to enter... plenty of time to join in the fun...

till next time
happy creating
xC


Wednesday, 29 April 2015

The Grand Piano.... the inside story

Hi everyone, thanks for joining me here today...

Further to my post yesterday for D-lish Scraps I have the continuation of The Grand Piano story.... 

The Grand Piano part 2....the inside story...

so when I created the piano... I wanted to make it a little functional as well as just pretty...
so I created it to house a mini album...

 I created the piano to open up completely, to allow easy access to the mini album...

 the mini album was decorated using D-lish scraps trellis rose, vintage rosesmixed size rosesmedium roses and a mini rose along with some Metal filigree circles and some Scrap FX doodad flourishes (doodad F) and I finished off the cover with the Scrap FX Memories title (from the memories words pack)and some torn Washi Tape....

 I created the pages using the 5x7 polka dot bags and some cardstock inserts...
 the bags were decorated using the Scrap FX alpha stencil, a coloured paper doily and 3.5 doily and a flair button and wordfetti....
 all pages were decorated in the similar theme...
one last look at the mini album resting in the grand piano...

till next time

happy creating
xC

Tuesday, 28 April 2015

D-lish Scraps a new DT term...

Hi everyone, thanks for joining me here today...

I am super excited to be back with D-lish Scraps for another term.... 
for those of you that don't already know me, here's a little bit about me...

I am married to my wonderfully supportive husband Bill and we live in Melbourne, Victoria with our fur babies....  Cleopatra (Cleo) an almost 3 year old Russian Blue cat, Henri a 2 year old Tonkinese cross cat, and our newest member Kanishka, an 8 week old Alaskan Malamute.... you should expect to see cute puppy scrapbook layouts in the near future...

I have been creative all my life... and love how the Scrapbooking industry allows me to combine so many of my creative outlets... I love Mixed Media and design work, along with teaching. My Mantra is Create and Educate.  Over the years I have had the privilege of becoming a Fully Certified Ranger Educator, Copic Certified Instructor/Designer, and published designer. I have had the privilege to teach in Australia for many years, and have been lucky enough to teach overseas on numerous occasions. 
I have had the honour of being on several design teams, and apart from D-lish Scraps, I am currently on the Scrap FX design team and the Couture Creations design team.

Well I think that's plenty about me, hopefully I didn't bore you too much and you're still with me here.... 
for my first share for this new term I wanted to create something that shows a little of what I really love to do.... When I have plenty of time I love to create off the page style pieces and altered art pieces.... and I have created one especially for this first posting...

The Grand Piano

I love to create things like this from scratch....  for this piece; for the base construction I used the Scrap FX 12x12" chipboard sheets, (if you'd like some of these just ask Amanda to order them for you)... I use them for everything from construction, mounting for photos and die cutting, as the chipboard sheets also die cut well with steel rule dies such as the thick Sizzix dies...

I used the Scrap FX Rose Stencil to create the pattern all over the top and sides of my piano  and the music stencil to create the piano keys...

I created the main flower cluster using D-lish scraps trellis roses, vintage roses, mixed size roses, medium roses and mini roses, along with carnations and a pinwheel bloom...

I used the Scrap FX ornate chandelier, I also scattered some adhesive rhinestones...

it wouldn't be one of my creations without some metal embellishments.... I included some Metal filigree circles and filigree butterflies  and some metal hinges...

I decorated the legs with some Scrap FX doodad flourishes (doodad F).... 

I added a couple of Scrap FX flourishes; flourish I and flourish H to the top of the piano...


well I hope you have enjoyed this little insight...into my creative mind...
come and join me again tomorrow for the next instalment...

till next time
Happy creating
xC


Saturday, 25 April 2015

Treasure the Time

Hi everyone, it's Cindy here with my second blog post for the month.... I'm excited to share my second project using the fabulous Vintage Rose Paper collection and some of this years gorgeous die releases.

I created a layout "Treasure the Time"... on this layout you'll find a couple of those old time photo's you can have done, these ones were from a trip we took to the Goldcoast...we were visiting the tigers at Dreamworld (I am totally obsessed with tigers, for those of you who don't know)and we came across the old-time photo booth and had a bit of fun...

Now, onto the details...

I started by die cutting a border using "Simone's Style" border die from the glossy back cover of an old magazine.... I particularly chose the cover for it's extra sturdiness and it's glossy coating...

I then used my newly created stencil with some modelling paste to created some texture down my page(bunch in a line from the Vintage Rose 12x12" paper pad)... the advantage to using the glossy paper, is it is re-usable and can be gently cleaned with a baby wipe and kept for the next time you want some more texture...

 After drying the stencilled modelling paste with the heat tool, I then spritzed a couple of different coral sprays drying in between colours with the heat tool.


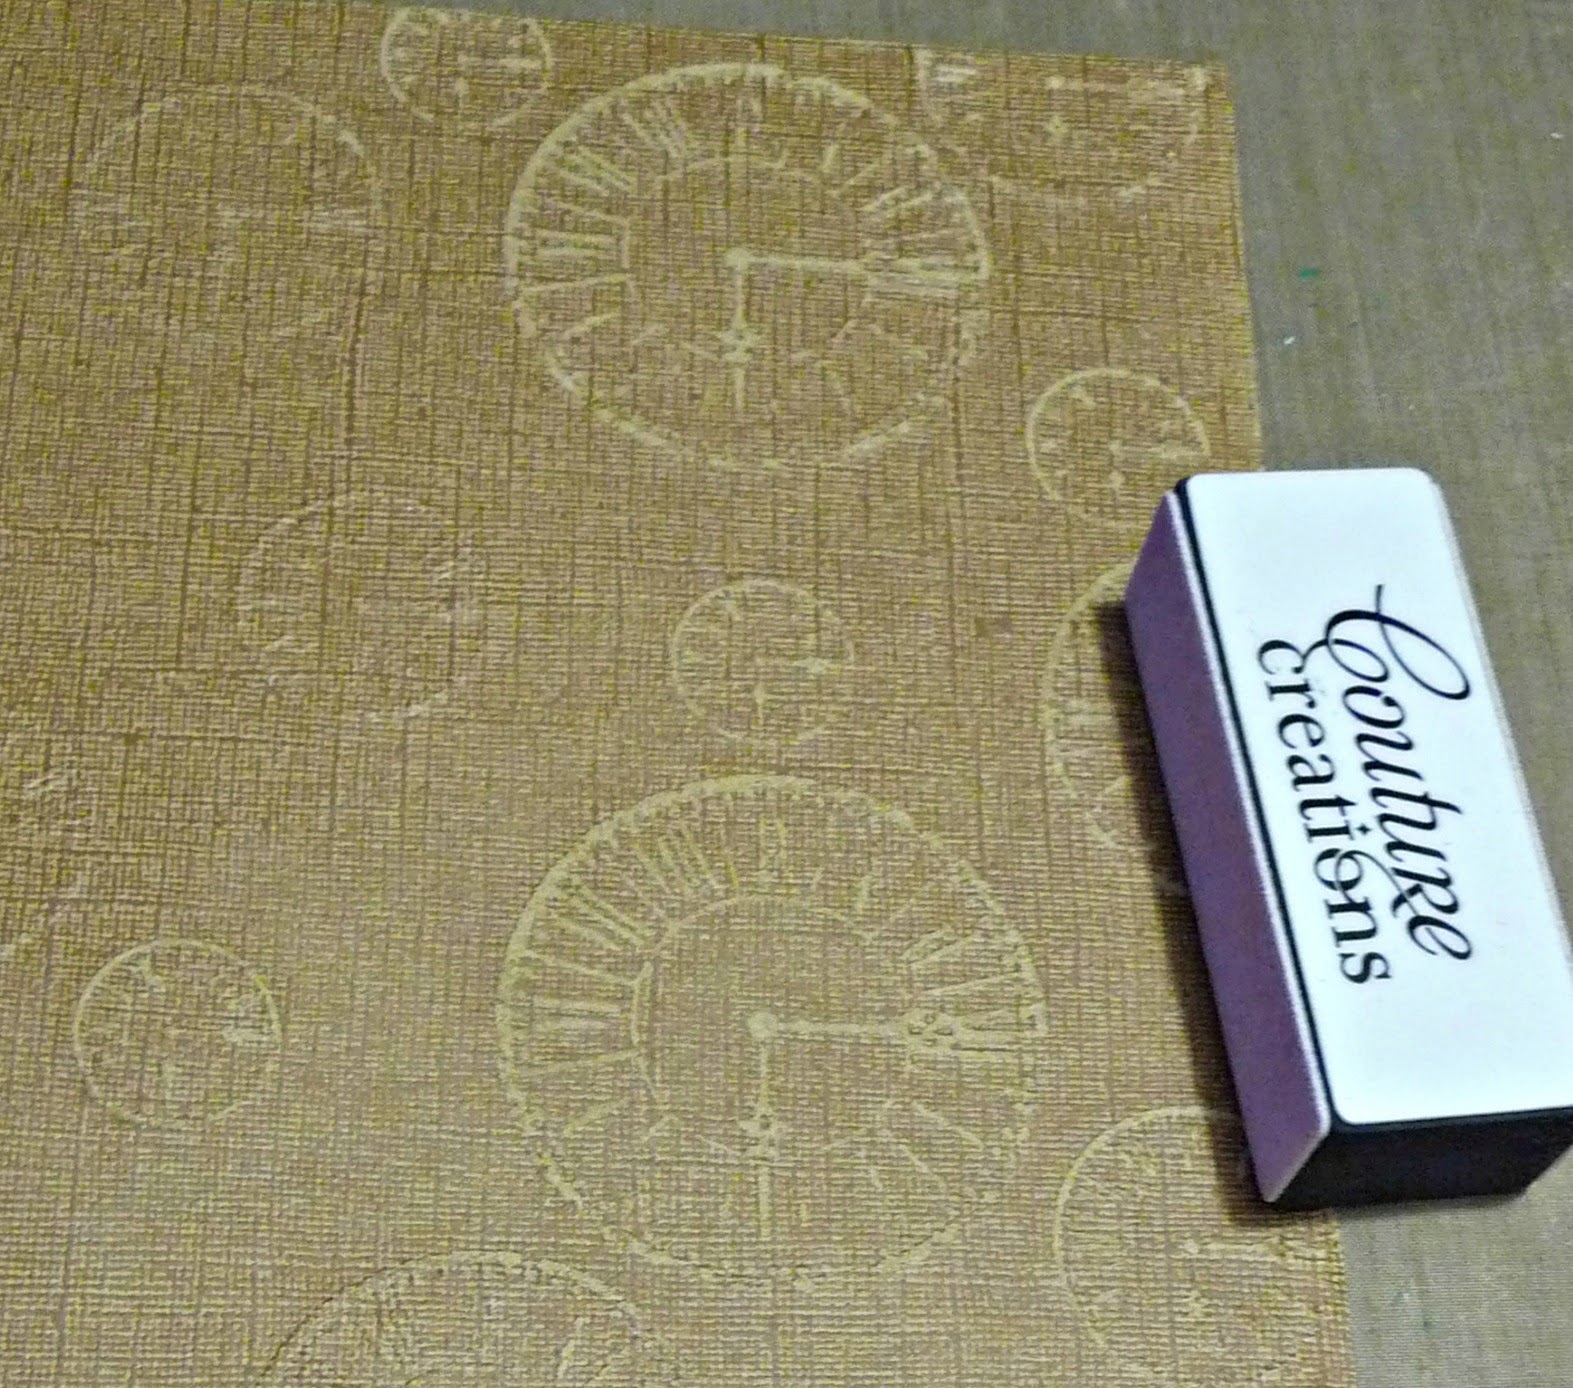
I used a sheet of the Coordinations cardstock and sanded it back to reveal the clocks pattern, I fussy cut several different size clocks.

Next I got to die cutting.... I used some of the left over Coordinaitons cardstock and some sheets from the Vintage Rose Paper collection 6x6" pad and I die cut these using dies from the Kalini and Amaryllis collections and the chevron arrows from the Everyday collection... 

I then reached for my border stencil (yes the one that I had created from the magazine cover) and with a sponge dauber, inked the edge of my layout...

And after inking all around the edge of the layout, I decided to tear away a largish section from the bottom of the page... and also create a couple of tiny tears on opposite edges of the layout... I used the diamonds in burgundy sheet from the Vintage Rose 12x12" paper pad to back my page, and show through the rips and tears I had created...

Now the only thing left to do was to ink up all my pieces and put it all together along with some muslin, and using some 3D glue dots and foam tape for some extra dimension.... 
here are some close ups...
 I cut the statements from the Pink Words paper from the Vintage Rose 12x12" paper pad 
and used foam tape to give them a bit of height...


I used buttons as centres for my centres of my Sharp flower die cuts... and gemstones for the centres of the clocks... I also scattered around a few of the 2mm gemstones, I think these are fast becoming a favourite for me, they are so pretty and not overpowering, totally love them...

I hope you've enjoyed this project and I would love to hear your feedback...
Here's a detailed list of the products I used:

Dies used:

Tools and Accessories used:

Adhesives used: 

till next time
happy creating

Wednesday, 8 April 2015

A Beautiful Moment

Hi everyone, thanks for joining me here today...
Today I'd like to share with you my latest layout for Scrap FX "A Beautiful Moment"

 This photo is of my gorgeous mum on her wedding day, she was such a beautiful soul... in this pic she is with her baby sister and her best friend... I really love this photo, she looks so young and innocent, I think she looks younger than her baby sister, but don't tell my auntie that...lol...
I wanted this layout to have a sense of elegance.... so I used the ever so elegant Damask Stencil with some Inka Gold and modelling paste... I wanted to to create a framed effect, so placed the stencil around the photo position...

 A Beautiful Moment, was the perfect title for my layout.... coloured up with some Inka Gold...

 I used a circle from the Scribble Circles pack, which I cut in half, behind the photo for a little extra touch of gold... once again coloured up with some Inka Gold...

I also stretched the circle out a little before adhering it...

Scrap FX products used:

till next time
Happy Creating
xC

Monday, 6 April 2015

Couture Creations

Hi everyone, it's Cindy here with my very first blog post for Couture Creations.... I'm so excited to be here and share my first project using the fabulous Vintage Rose Paper collection and some of this years gorgeous die releases.

 Since being selected for this team, I have learnt something I didn't know about the Couture Creations dies, and no it's not how fabulously they cut, lol, I already knew that.... it is that the majority of them are limited editions... once they are gone they are gone.... so you need to order your favourite dies from your local supplier, asap to make sure you don't miss out!

So onto my project, for my first share I created a layout "Disneyland"... this is a pic of the seven dwarfs water feature in the happiest place on earth...

Now, onto the details...

I started by die cutting 5 borders using "Simone's Style" border die from green cardstock, 2 doilies using the "Keepsake Kandy" die from the Vintage Rose paper and 2 decorative corners using the "Malvoisie Corners" die also from the Vintage Rose paper.


Aren't they just gorgeous.... and sitting on my lovely new cutting mat... I love that this cutting mat is double sided (black on the other side) and that it has a lovely scalloped edge and is bigger than 12 x12"... and if that isn't enough, it even has inspirational sayings around the edges, simply fabulous.

I chose the "green florals"  page as by background which I cut down to a 10" square, this let me edge all sides with the die cut border, ensuring to mitre the corners for a neat finish.

I then clear embossed a script stamp onto the background for a little extra texture.

Next I went about creating a rosette for the layout using the last green die cut border...
I used the paper trimmer along with the scoring tool to carefully score the die cut at 1/4" intervals along the full length of the die cut...
 then glue the start to the end.... this is where I discovered the truly awesome new Turbo Precision Glue Pen....  WOW! what can I say, those who know me well, know that I have been a lover and advocate of "the purple glue" as we have nicknamed it... but no longer is this my go to glue... I have found the ultimate replacement, and it already comes in it's own easy to use fine nib applicator.... love love love it... can't rave enough about how fantastic it is... it is a must have product...  
Ok rave over, back to creating a rosette; and as when creating any rosette, gently press the straight edge together in the centre and use a button to hold it all in place.... doesn't this die create a gorgeous rosette.... definitely worth the fiddling with the scoring.


Next I used a couple of the different green printed pages from the Vintage Rose Garden 6x6" pad to create a couple of tags (5 1/2" x 3") and then embossed them using the "Music of the Heart" and the "Lilliputana Curtain" embossing folders.
 Once embossed I inked them up and put in an eyelet and some ribbon.


So from here I put my page together.
I inked all my pieces using the sponge daubers and bundled sage distress ink, I added some cotton thread underneath my photo and used some 12mm foam tape to mount the music tag and the photo to give some extra dimension to the finished layout.

Here are some more close ups....

 I embossed some chipboard letters to create my title.


 I used the corner die cuts on opposite corners.

and one last close up of the general placement.

I hope you've enjoyed my first post and would love to hear your feedback...
thanks again for joining me today.

Embossing Folders and Dies used:

Papers used:

Tools and Accessories used:

Adhesives used: 

till next time
happy creating