
Hi everyone, it's Cindy here with my second blog post for the month.... I'm excited to share my second project using the fabulous Vintage Rose Paper collection and some of this years gorgeous die releases.
I created a layout "Treasure the Time"... on this layout you'll find a couple of those old time photo's you can have done, these ones were from a trip we took to the Goldcoast...we were visiting the tigers at Dreamworld (I am totally obsessed with tigers, for those of you who don't know)and we came across the old-time photo booth and had a bit of fun...

Now, onto the details...
I started by die cutting a border using "Simone's Style" border die from the glossy back cover of an old magazine.... I particularly chose the cover for it's extra sturdiness and it's glossy coating...

I then used my newly created stencil with some modelling paste to created some texture down my page(bunch in a line from the Vintage Rose 12x12" paper pad)... the advantage to using the glossy paper, is it is re-usable and can be gently cleaned with a baby wipe and kept for the next time you want some more texture...


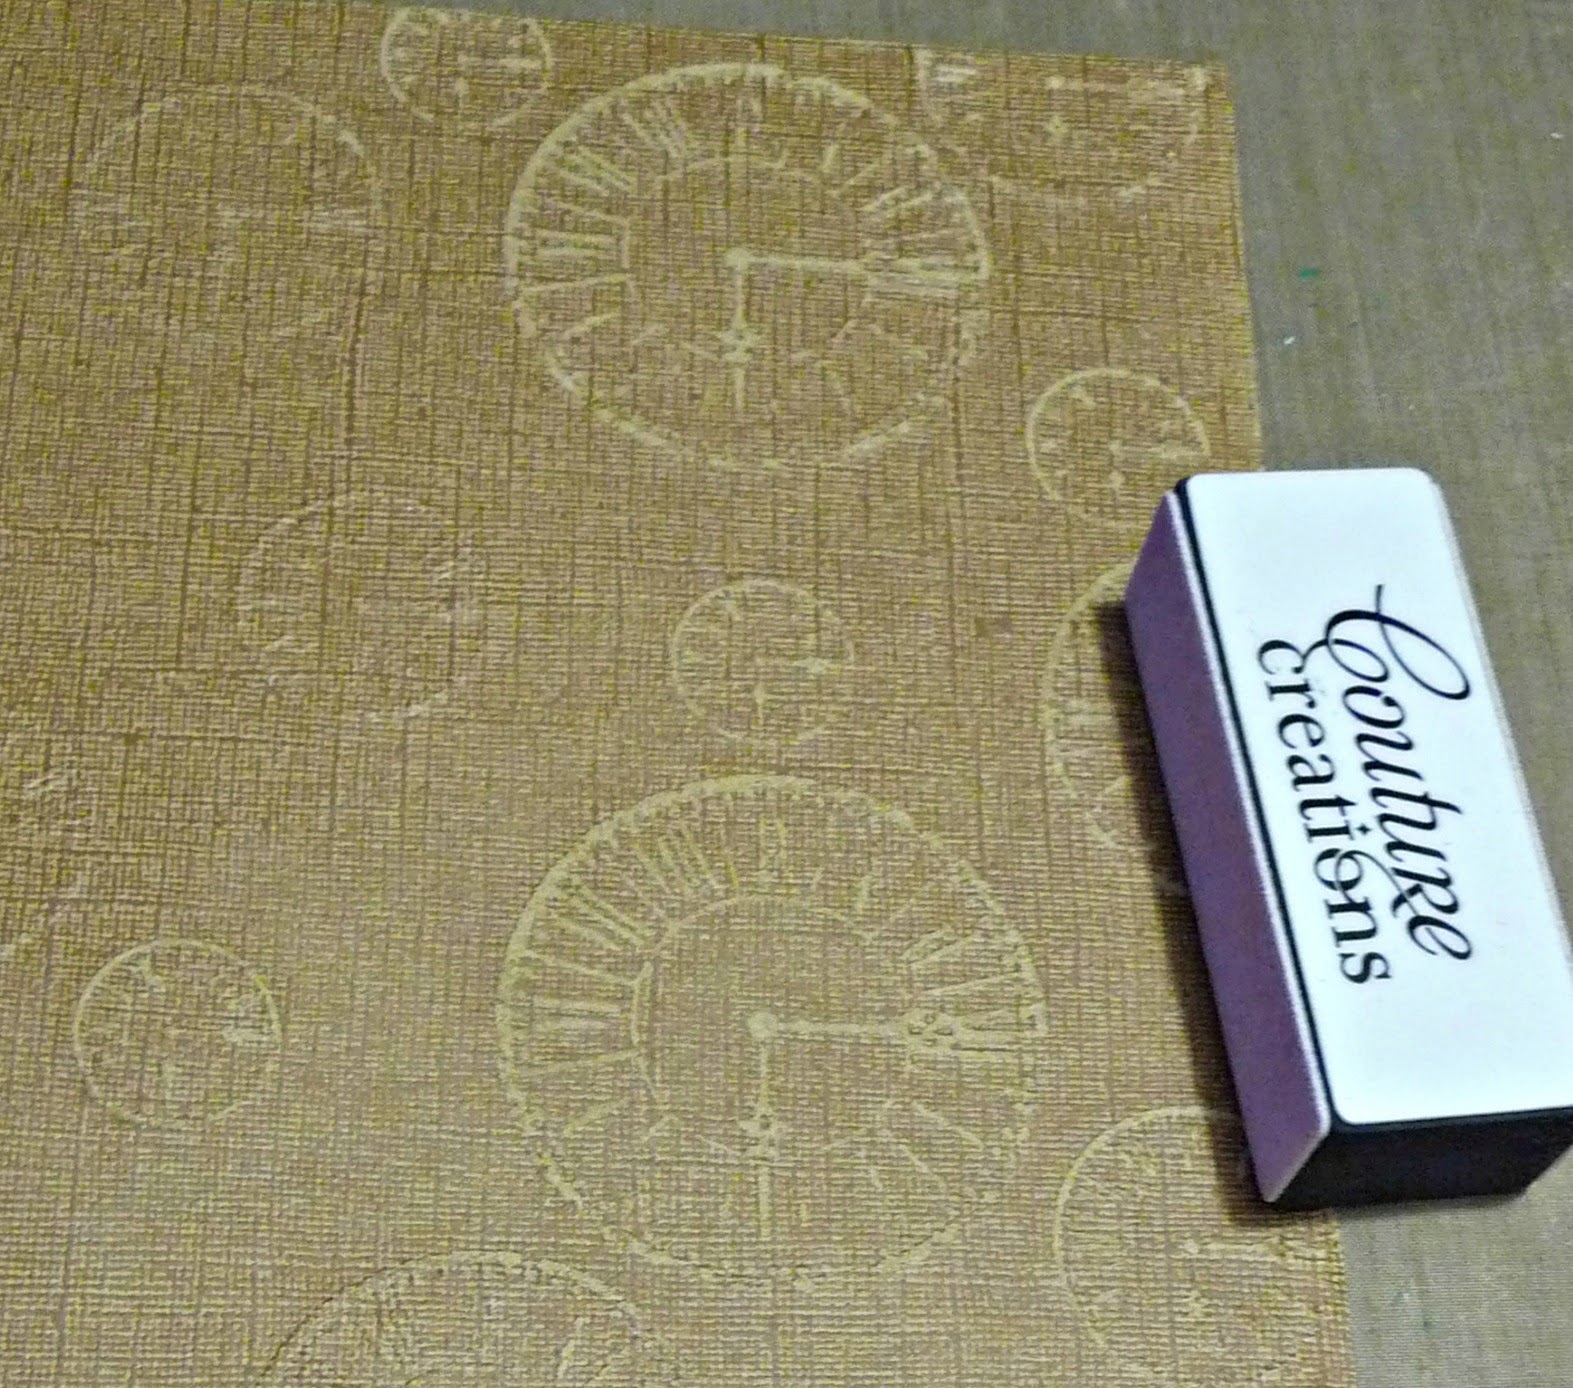
I used a sheet of the Coordinations cardstock and sanded it back to reveal the clocks pattern, I fussy cut several different size clocks.
Next I got to die cutting.... I used some of the left over Coordinaitons cardstock and some sheets from the Vintage Rose Paper collection 6x6" pad and I die cut these using dies from the Kalini and Amaryllis collections and the chevron arrows from the Everyday collection...


I then reached for my border stencil (yes the one that I had created from the magazine cover) and with a sponge dauber, inked the edge of my layout...

And after inking all around the edge of the layout, I decided to tear away a largish section from the bottom of the page... and also create a couple of tiny tears on opposite edges of the layout... I used the diamonds in burgundy sheet from the Vintage Rose 12x12" paper pad to back my page, and show through the rips and tears I had created...

Now the only thing left to do was to ink up all my pieces and put it all together along with some muslin, and using some 3D glue dots and foam tape for some extra dimension....
here are some close ups...

I cut the statements from the Pink Words paper from the Vintage Rose 12x12" paper pad
and used foam tape to give them a bit of height...


I used buttons as centres for my centres of my Sharp flower die cuts... and gemstones for the centres of the clocks... I also scattered around a few of the 2mm gemstones, I think these are fast becoming a favourite for me, they are so pretty and not overpowering, totally love them...
I hope you've enjoyed this project and I would love to hear your feedback...
Here's a detailed list of the products I used:
Dies used:
Tools and Accessories used:
CO723623 - Sponge Dauber (6 pack)
CO721988 - Sparkling Champagne - Gemstones
CO 724158 - Champagne - 2mm Gemstones
CO721988 - Sparkling Champagne - Gemstones
CO 724158 - Champagne - 2mm Gemstones
Adhesives used:
till next time
happy creating

No comments:
Post a Comment